
Why Use a Grad ND Instead of HDR Bracketing
Why Landscape Photographers Use Graduated ND Filters Instead of HDR
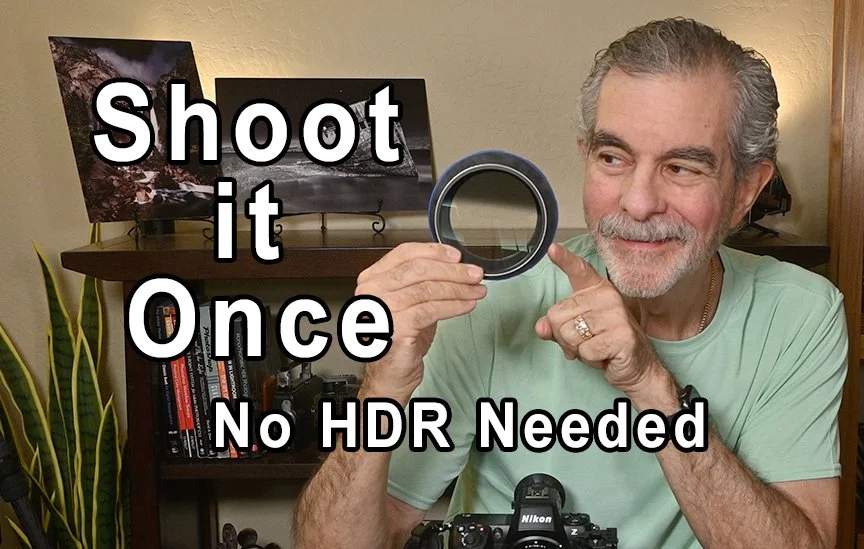
By Richard Herzog | Herzography
If you’ve spent any time photographing landscapes, you’ve probably run into the same frustrating problem.
The sky looks amazing… but the foreground is too dark.
Or the foreground looks perfect… but the sky is completely blown out.
This is one of the most common challenges in landscape photography, and it happens because the scene you’re looking at often contains more dynamic range than your camera can capture in a single exposure.
There are a few ways to deal with this problem. Many photographers shoot multiple exposures and combine them later using HDR techniques.
But there’s another solution that many landscape photographers prefer because it happens right in the camera.
That solution is a Graduated Neutral Density filter, often called a Grad ND filter.
Let’s talk about what they do, why they work so well, and why they can often be a better choice than HDR bracketing.
What a Graduated ND Filter Does
A Graduated ND filter is designed to darken only part of your frame — usually the sky.
The filter gradually transitions from dark to clear, allowing you to reduce the brightness of the sky while leaving the foreground untouched.
The result is a much more balanced exposure.
Instead of dealing with extreme contrast, the filter helps you:
Balance bright skies with darker foregrounds
Prevent blown-out highlights in clouds
Preserve detail in the landscape
Capture what your eyes are actually seeing
When used correctly, a grad filter allows you to produce a properly exposed image in a single shot.
In other words, it gives you direct control over dynamic range at the moment you capture the photograph.
Why Landscapes Often Need Them
Landscape scenes frequently push your camera to its limits.
Imagine a sunrise over the ocean.
The sky may be glowing with intense light, while the foreground rocks or sand are still sitting in shadow.
Your camera can’t expose both areas perfectly at the same time without help.
If you expose for the sky, the foreground becomes too dark.
If you expose for the foreground, the sky becomes completely blown out.
A Grad ND filter solves this problem by reducing the brightness of the sky before the light even reaches your sensor.
Instead of fixing the issue later in software, you’re fixing it while you capture the image.
That means:
Less HDR blending
Less editing later
A more natural looking result
And if you’re someone who likes to upload photos quickly while still on location, this approach often gets you much closer to your final image immediately.
Which Grad Filter Should You Start With?
Grad filters come in different strengths, measured in stops.
A stop represents how much light the filter blocks.
If you’re starting out, two strengths cover most situations.
3-stop grad filter: Ideal for sunrise and sunset conditions.
4-stop grad filter: Useful for very bright scenes like deserts or harsh midday light.
The stronger the filter, the more control you have over the brightness of the sky.
The Three Types of Grad Filters
Modern grad filter systems have evolved quite a bit over the years.
One brand that has introduced some interesting solutions is Maven Filters, which offers three different approaches to graduated filtration.
Let’s take a look at them.
Traditional Fixed ND Grad Filters
The most common option is a traditional fixed graduated ND filter.
Fixed density (usually 3-stop or 4-stop)
You choose the strength before shooting
Works well when lighting conditions are consistent
Fill Options
1/3 Fill: Best for mountains, trees, and uneven horizons
1/2 Fill: Ideal for oceans, plains, and flat horizons
The IRON SLIDER
Maven also introduced a clever solution called the IRON SLIDER.
This system allows the gradient filter to slide up and down so you can position it exactly where the horizon falls in your composition.
Being able to move the gradient quickly in the field makes alignment much easier and faster when shooting landscapes.
The Magic Variable Gradient Filter
This is where things get really interesting.
The Magic Variable Gradient Filter expands the concept of a grad filter by allowing you to adjust the density.
Instead of being locked into a single strength, the filter can adjust from roughly 1.3 stops to 5 stops.
That means one filter can replace multiple grad filters in your camera bag.
Adjustable Density Control
Dial in exactly how dark you want the sky
Make subtle corrections or dramatic adjustments
Perfect for fast-changing sunrise and sunset conditions
During golden hour, light can change every two to five minutes. Instead of constantly swapping filters, you simply adjust the density.
Dynamic Edge Control
One of the most unique aspects of the Magic Variable Gradient Filter is how the gradient edge behaves.
Edge Position
The gradient edge can shift when you zoom
You can recompose without moving the filter
Edge Hardness
Wide apertures produce softer transitions
Smaller apertures create sharper horizon edges
The result is a smooth, natural blend without an obvious filter line across the image.
LPL Interaction
When paired with the MAVEN LPL, the filter’s hard film edge essentially disappears and becomes dynamic.
The transition adapts based on focal length and aperture changes, producing more natural skies and smoother tonal transitions.
Creative Control for Landscape Photographers
With modern systems like this, photographers gain a huge amount of creative control.
You can adjust:
Exposure strength
Transition softness
Horizon placement
And you can do it all without removing the filter from your lens.
In many ways, this feels like performing exposure blending directly inside the camera.
Why Use a Grad ND Instead of HDR?
HDR photography works by combining multiple exposures. While it can be effective, it also introduces several challenges.
Here are situations where a grad filter can actually be the better choice.
Moving Subjects
HDR requires multiple exposures. If elements in the scene are moving, problems often appear.
Waves
Waterfalls
Moving clouds
Wind-blown grass
Trees
These movements can create ghosting, smearing, or alignment artifacts.
A grad filter captures everything in a single exposure, eliminating those problems entirely.
Windy Conditions
Wind causes constant movement in trees, grass, and leaves.
HDR blending often struggles with these shifts between frames, while a grad filter captures the scene exactly as it existed in one moment.
Water and Long Exposures
Long exposure water photography can also cause HDR blending issues.
Water motion changes between frames, which can produce muddy or unnatural textures.
A grad filter allows you to shoot a single long exposure while preserving detail in the sky.
Changing Light
Sunrise and sunset lighting can change every 30 to 90 seconds.
If you shoot multiple exposures for HDR, the light may shift between frames, causing unnatural tonal transitions.
With a grad filter, you capture the correct exposure immediately.
A More Natural Look
HDR processing can sometimes produce glowing shadows, muddy midtones, or halos around mountains and trees.
Grad filters often produce more natural results because they mimic how our eyes perceive brightness differences.
A Faster Workflow
HDR photography typically requires:
A tripod
Multiple exposures
Computer processing
Blending software
With a grad filter, you simply capture one exposure and move on.
Better Highlight Protection
Blown highlights cannot be recovered.
A grad filter protects bright areas of the sky at the moment of capture.
Less Computer Time
Grad filters eliminate the need for stacking, alignment, masking, and artifact correction.
You spend more time photographing and less time repairing images later.
Advantages of Magnetic Grad Filters
Snap on and off instantly
Quick rotation and alignment
Easy stacking with ND filters or polarizers
Slim designs reduce vignetting
Fewer parts to lose in the field
Practical Field Benefits
Better skies directly out of the camera
Less need for HDR blending
Faster shooting when light changes quickly
More natural looking images
Less editing time
Key Takeaway
Graduated ND filters allow you to control dynamic range at the moment you capture the image.
Traditional fixed grad filters are already powerful tools, but newer systems like the Magic Variable Gradient Filter offer even greater flexibility and creative control.
Final Thoughts
If you photograph sunrises, sunsets, mountains, deserts, or coastlines, a graduated ND filter is an essential tool.
A variable gradient system helps you adapt to changing light and capture the scene exactly as you see it.
Because a graduated ND filter doesn’t just make photography easier…
It helps you capture the moment correctly the first time.