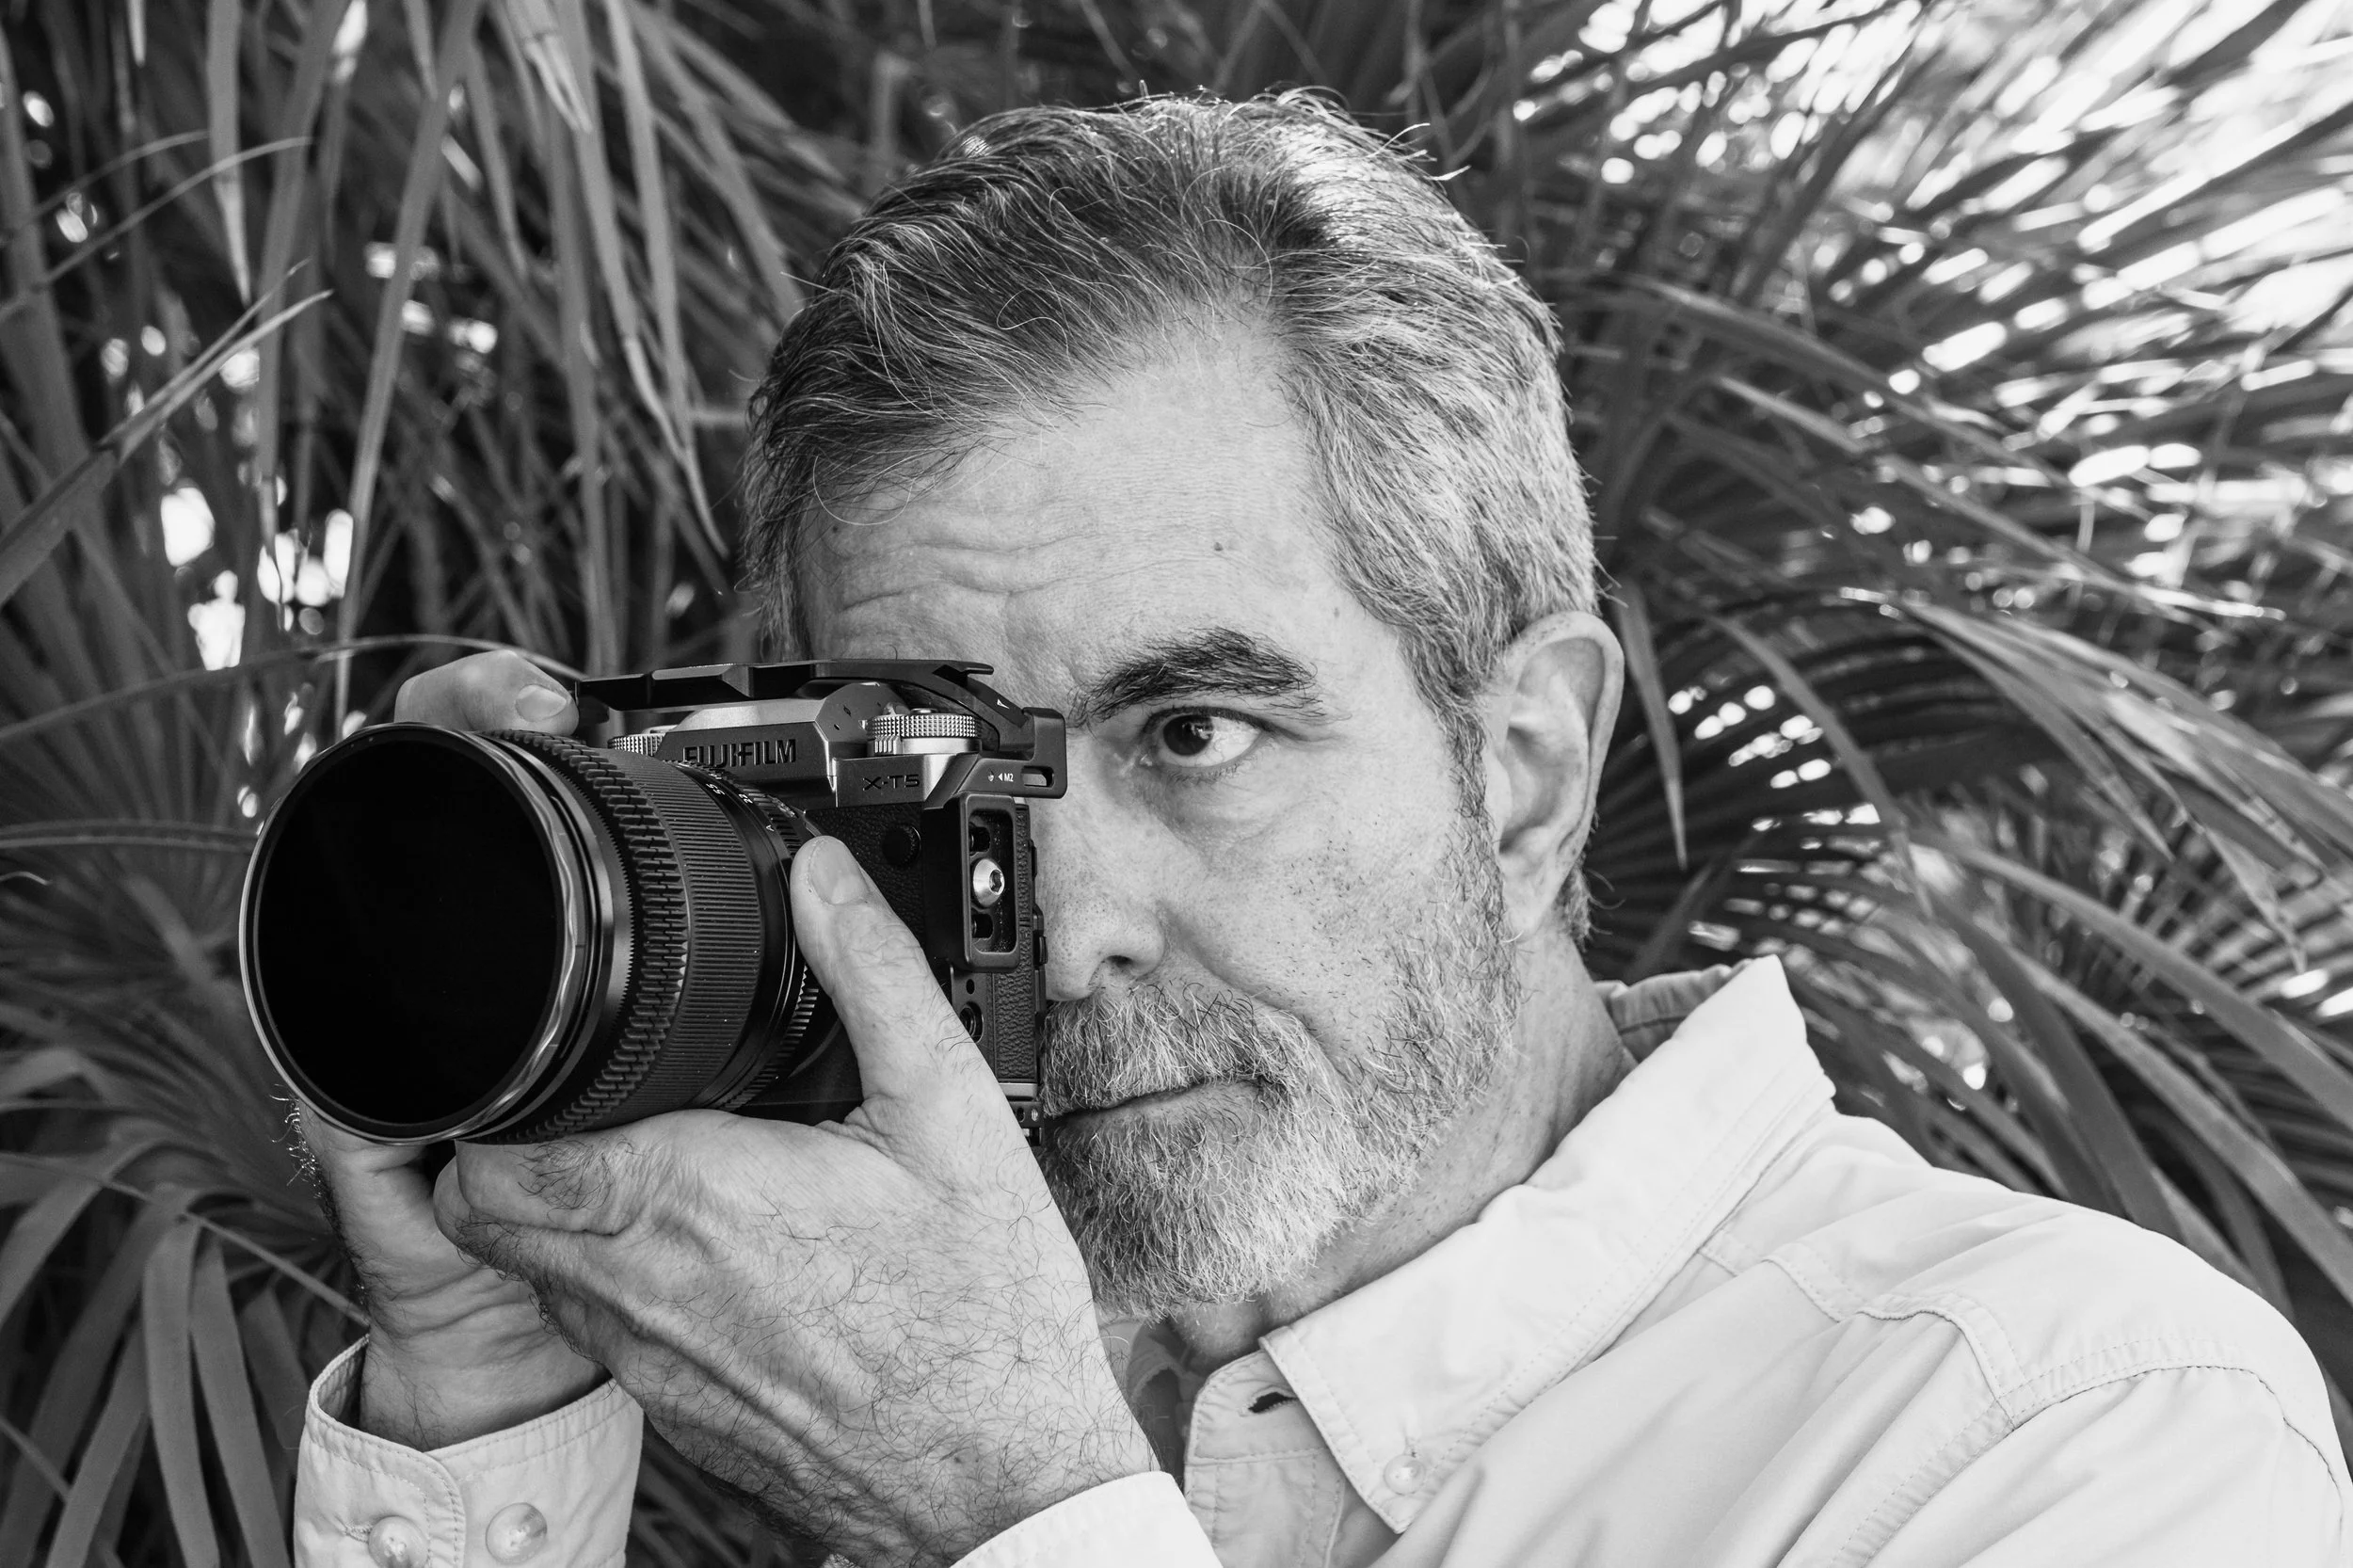
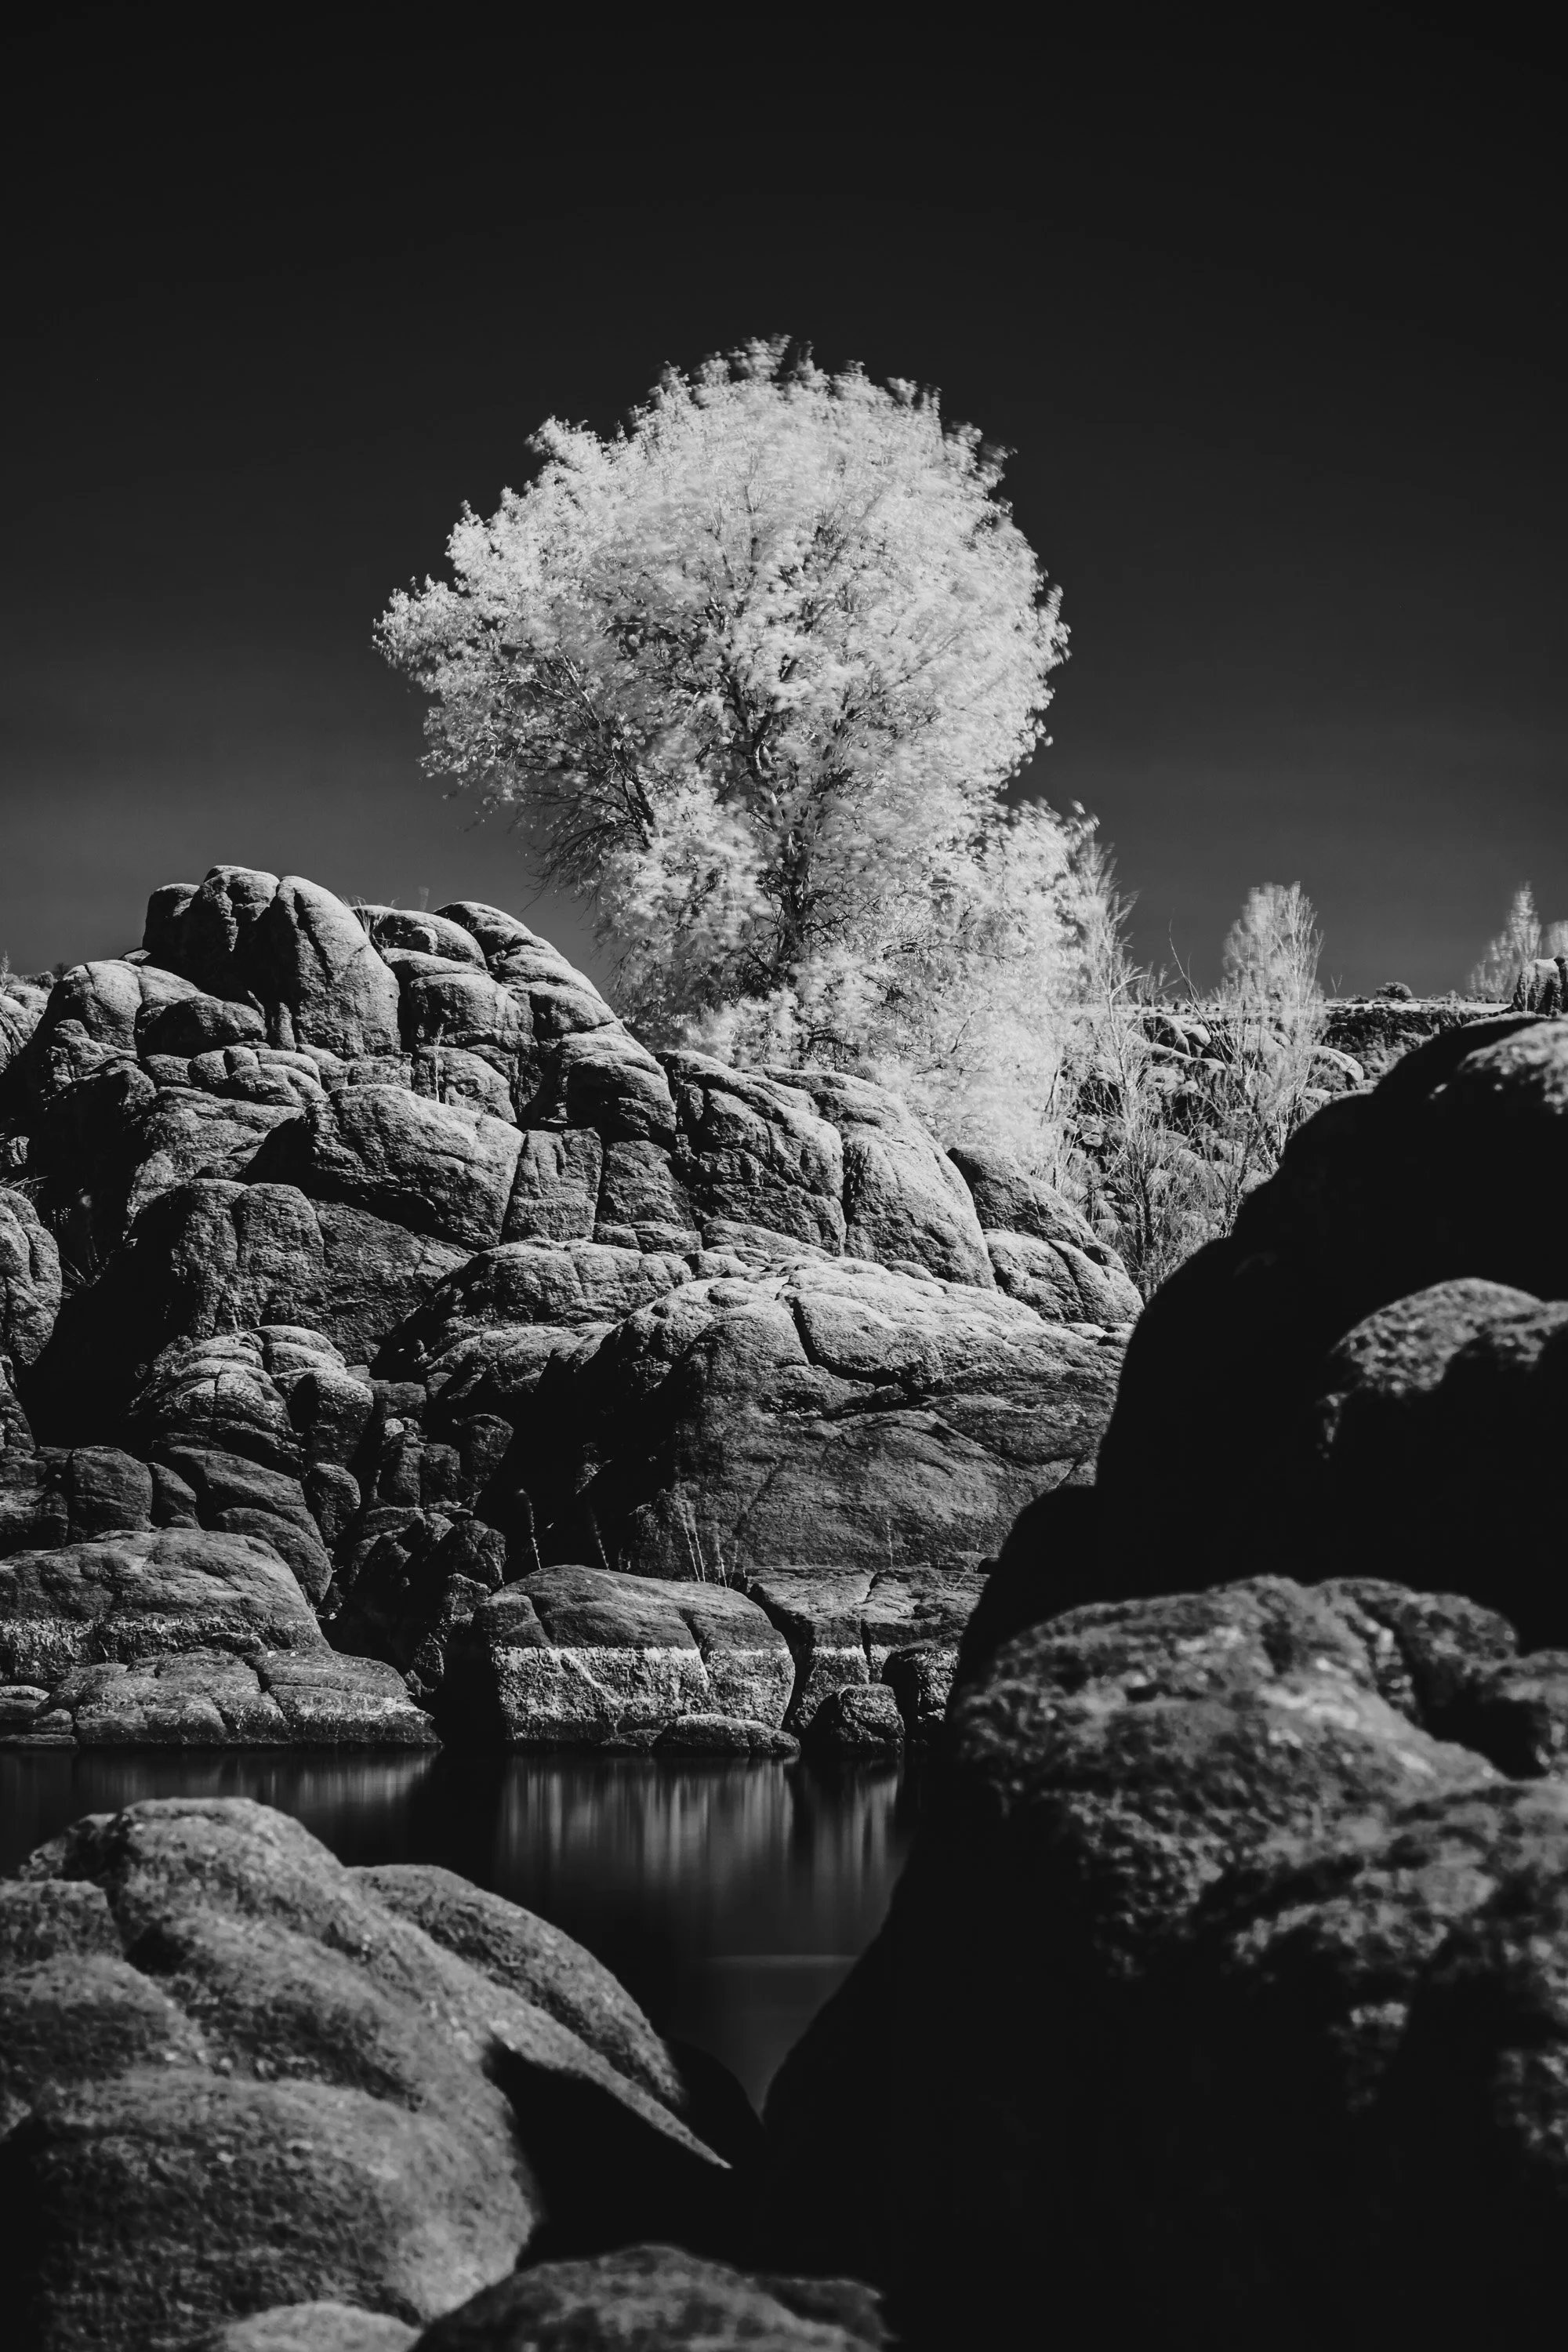
There is something fascinating about looking at a familiar landscape and seeing it in a way you never expected. Trees that normally appear green become brilliant white. Blue skies turn dark and dramatic. Clouds take on a completely different character, and an ordinary landscape can suddenly look almost otherworldly.
This is the magic of black-and-white infrared photography.
Infrared photography offers landscape photographers an opportunity to step outside the familiar world of conventional color and black-and-white photography. Instead of simply recording the light our eyes see, infrared photography captures a different portion of the light spectrum, creating images with a distinctive look that can be both dramatic and artistic.
And the interesting part is that you don't necessarily need a specially converted camera to get started. With a standard digital camera and the right infrared-pass filter, you can begin exploring this creative approach to landscape photography.
In this article, I'll walk through what infrared photography is, why foliage can appear white, how to approach focusing and exposure, and some of the challenges you may encounter when working with infrared filters.
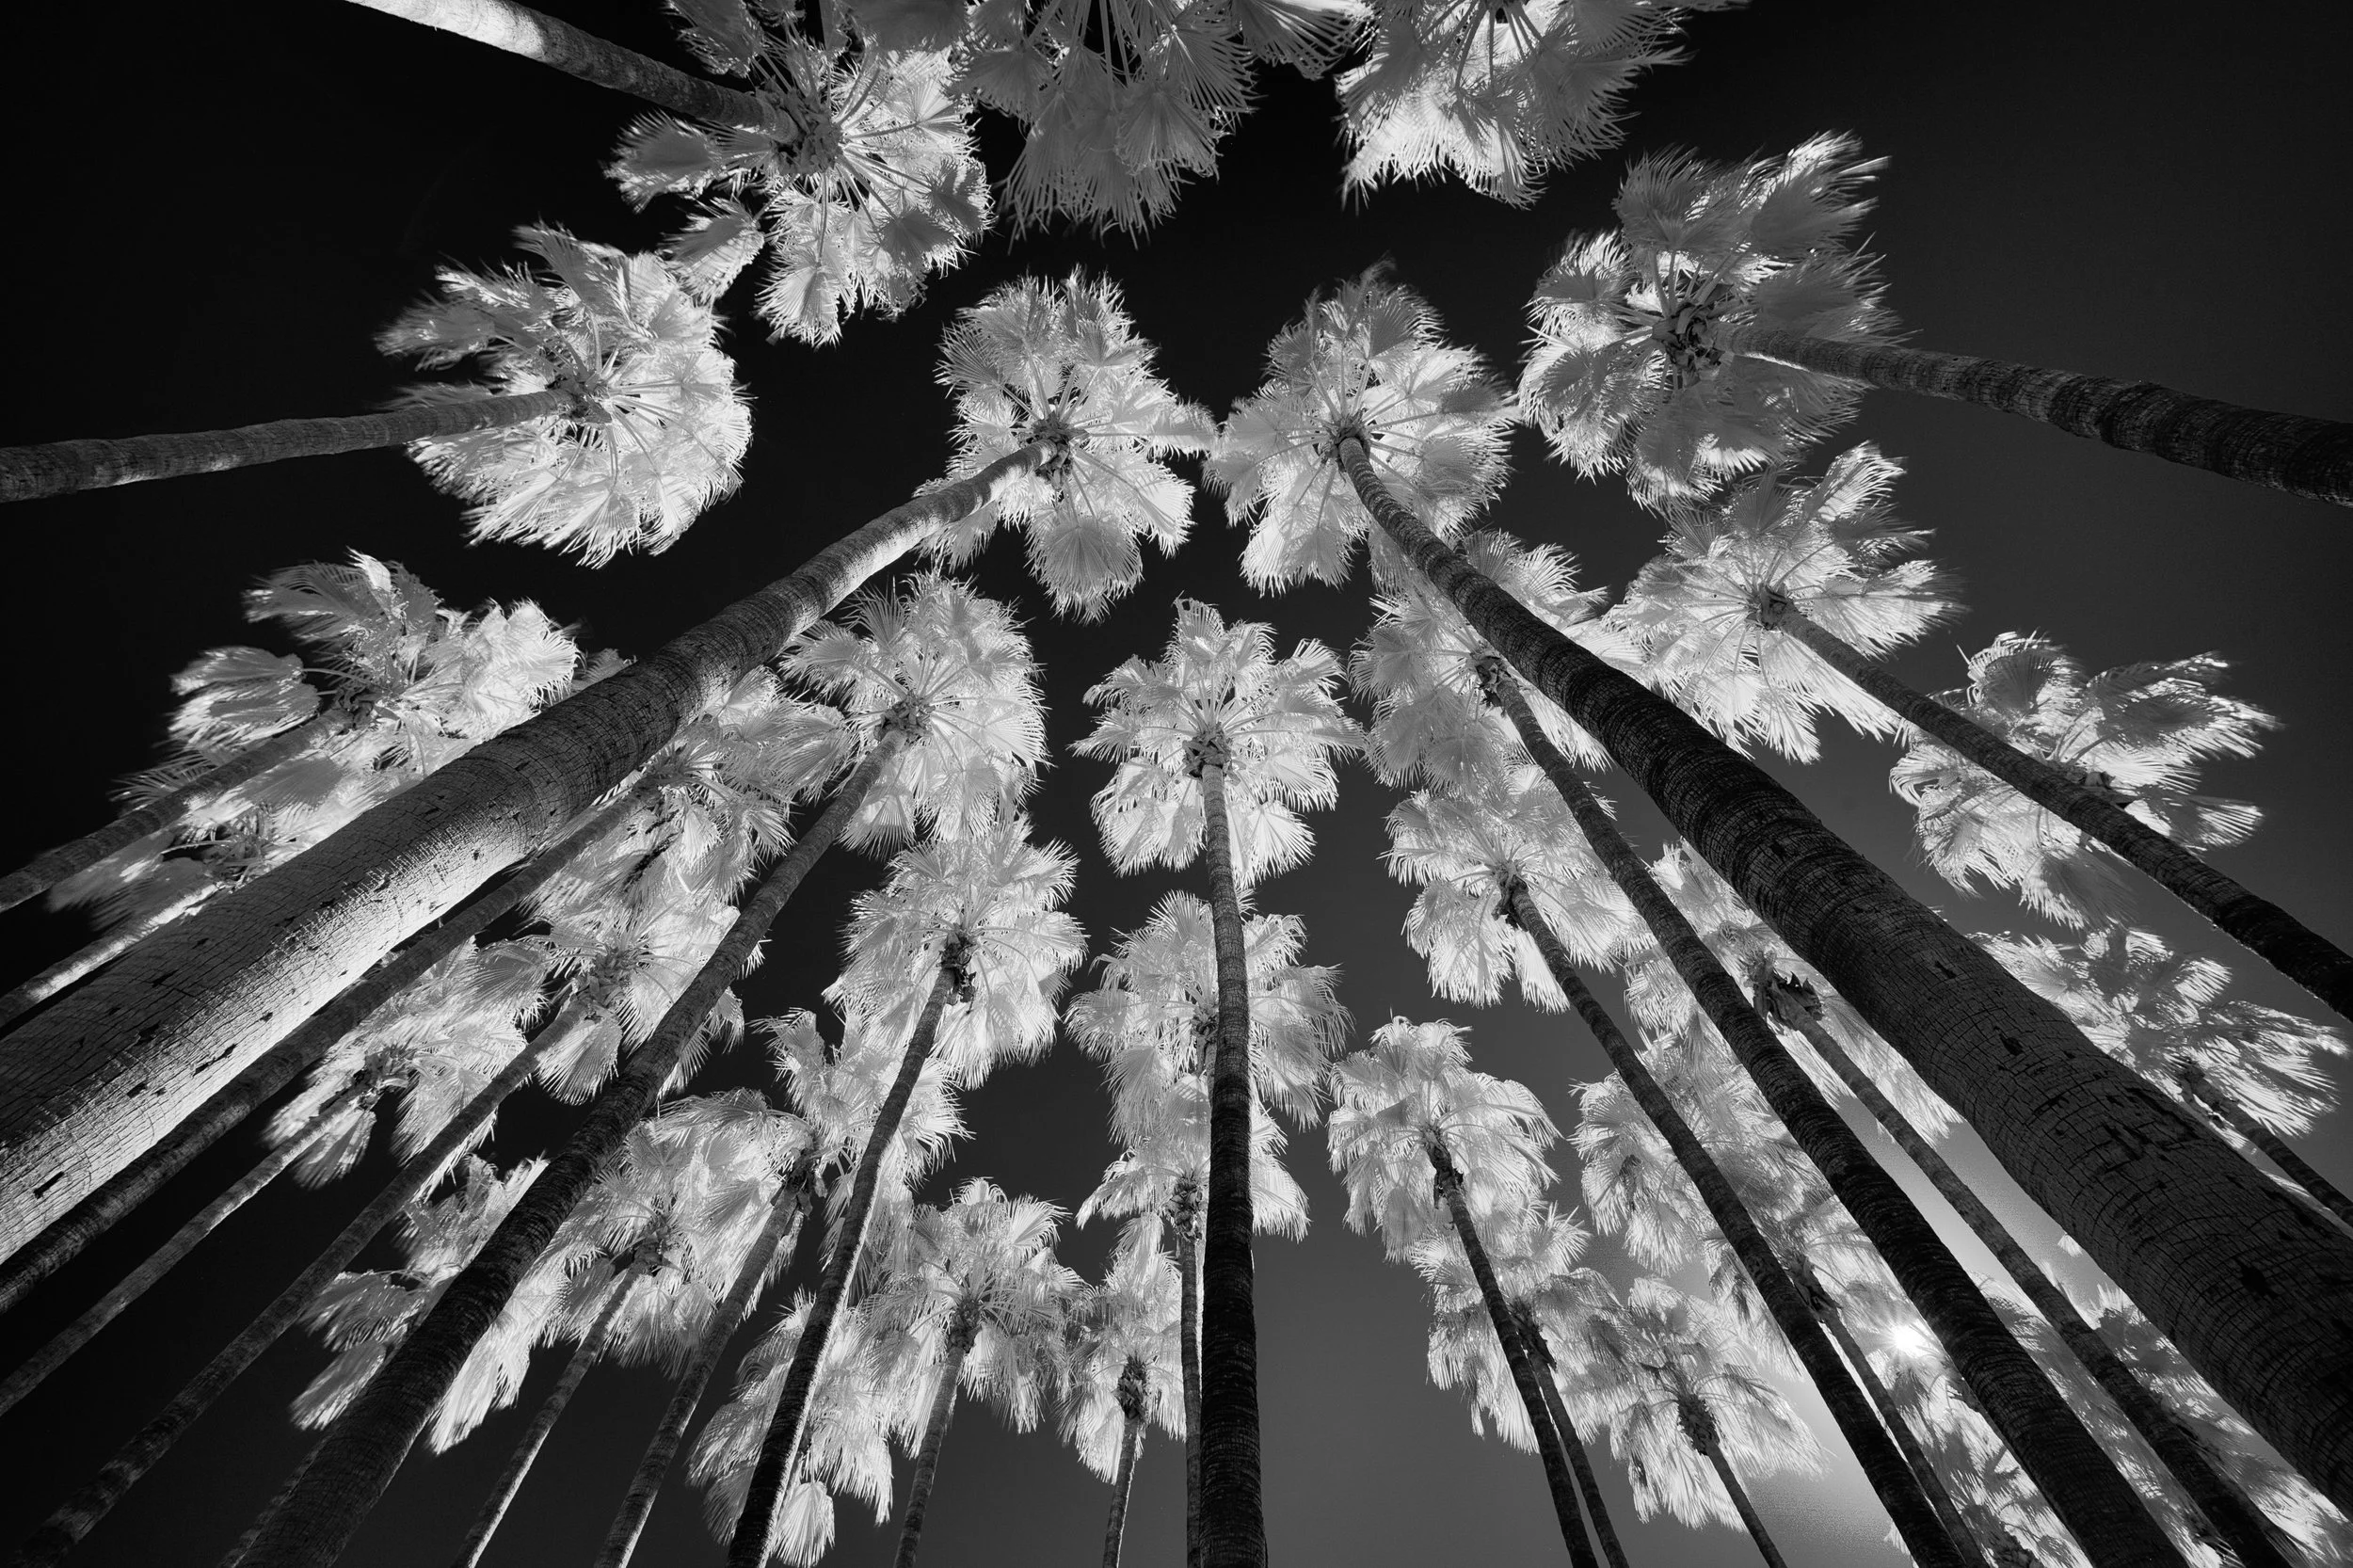
Understanding Black-and-White Infrared Photography
To understand infrared photography, it helps to know a little about how a digital camera sees light.
A standard digital camera is designed primarily to record visible light. Most cameras have an infrared-cutoff filter positioned over the sensor to block much of the infrared light from reaching it. This helps the camera produce the colors we normally expect to see.
An infrared-pass filter works differently. It blocks most visible light while allowing near-infrared light to pass through to the camera's sensor.
When you place one of these filters in front of your lens, you're asking the camera to record a very different part of the light spectrum. The result can be dramatically different from a conventional photograph.
Because the camera's built-in infrared-cutoff filter is still in place, relatively little infrared light may reach the sensor. This often means working with longer exposures, sometimes requiring several seconds or even longer depending on the camera, filter, and lighting conditions.
The important thing to understand is that an infrared-pass filter doesn't simply make a photograph black and white. It changes the light being recorded, which is why the resulting image can look so different.
The Wood Effect: Why Trees Turn White
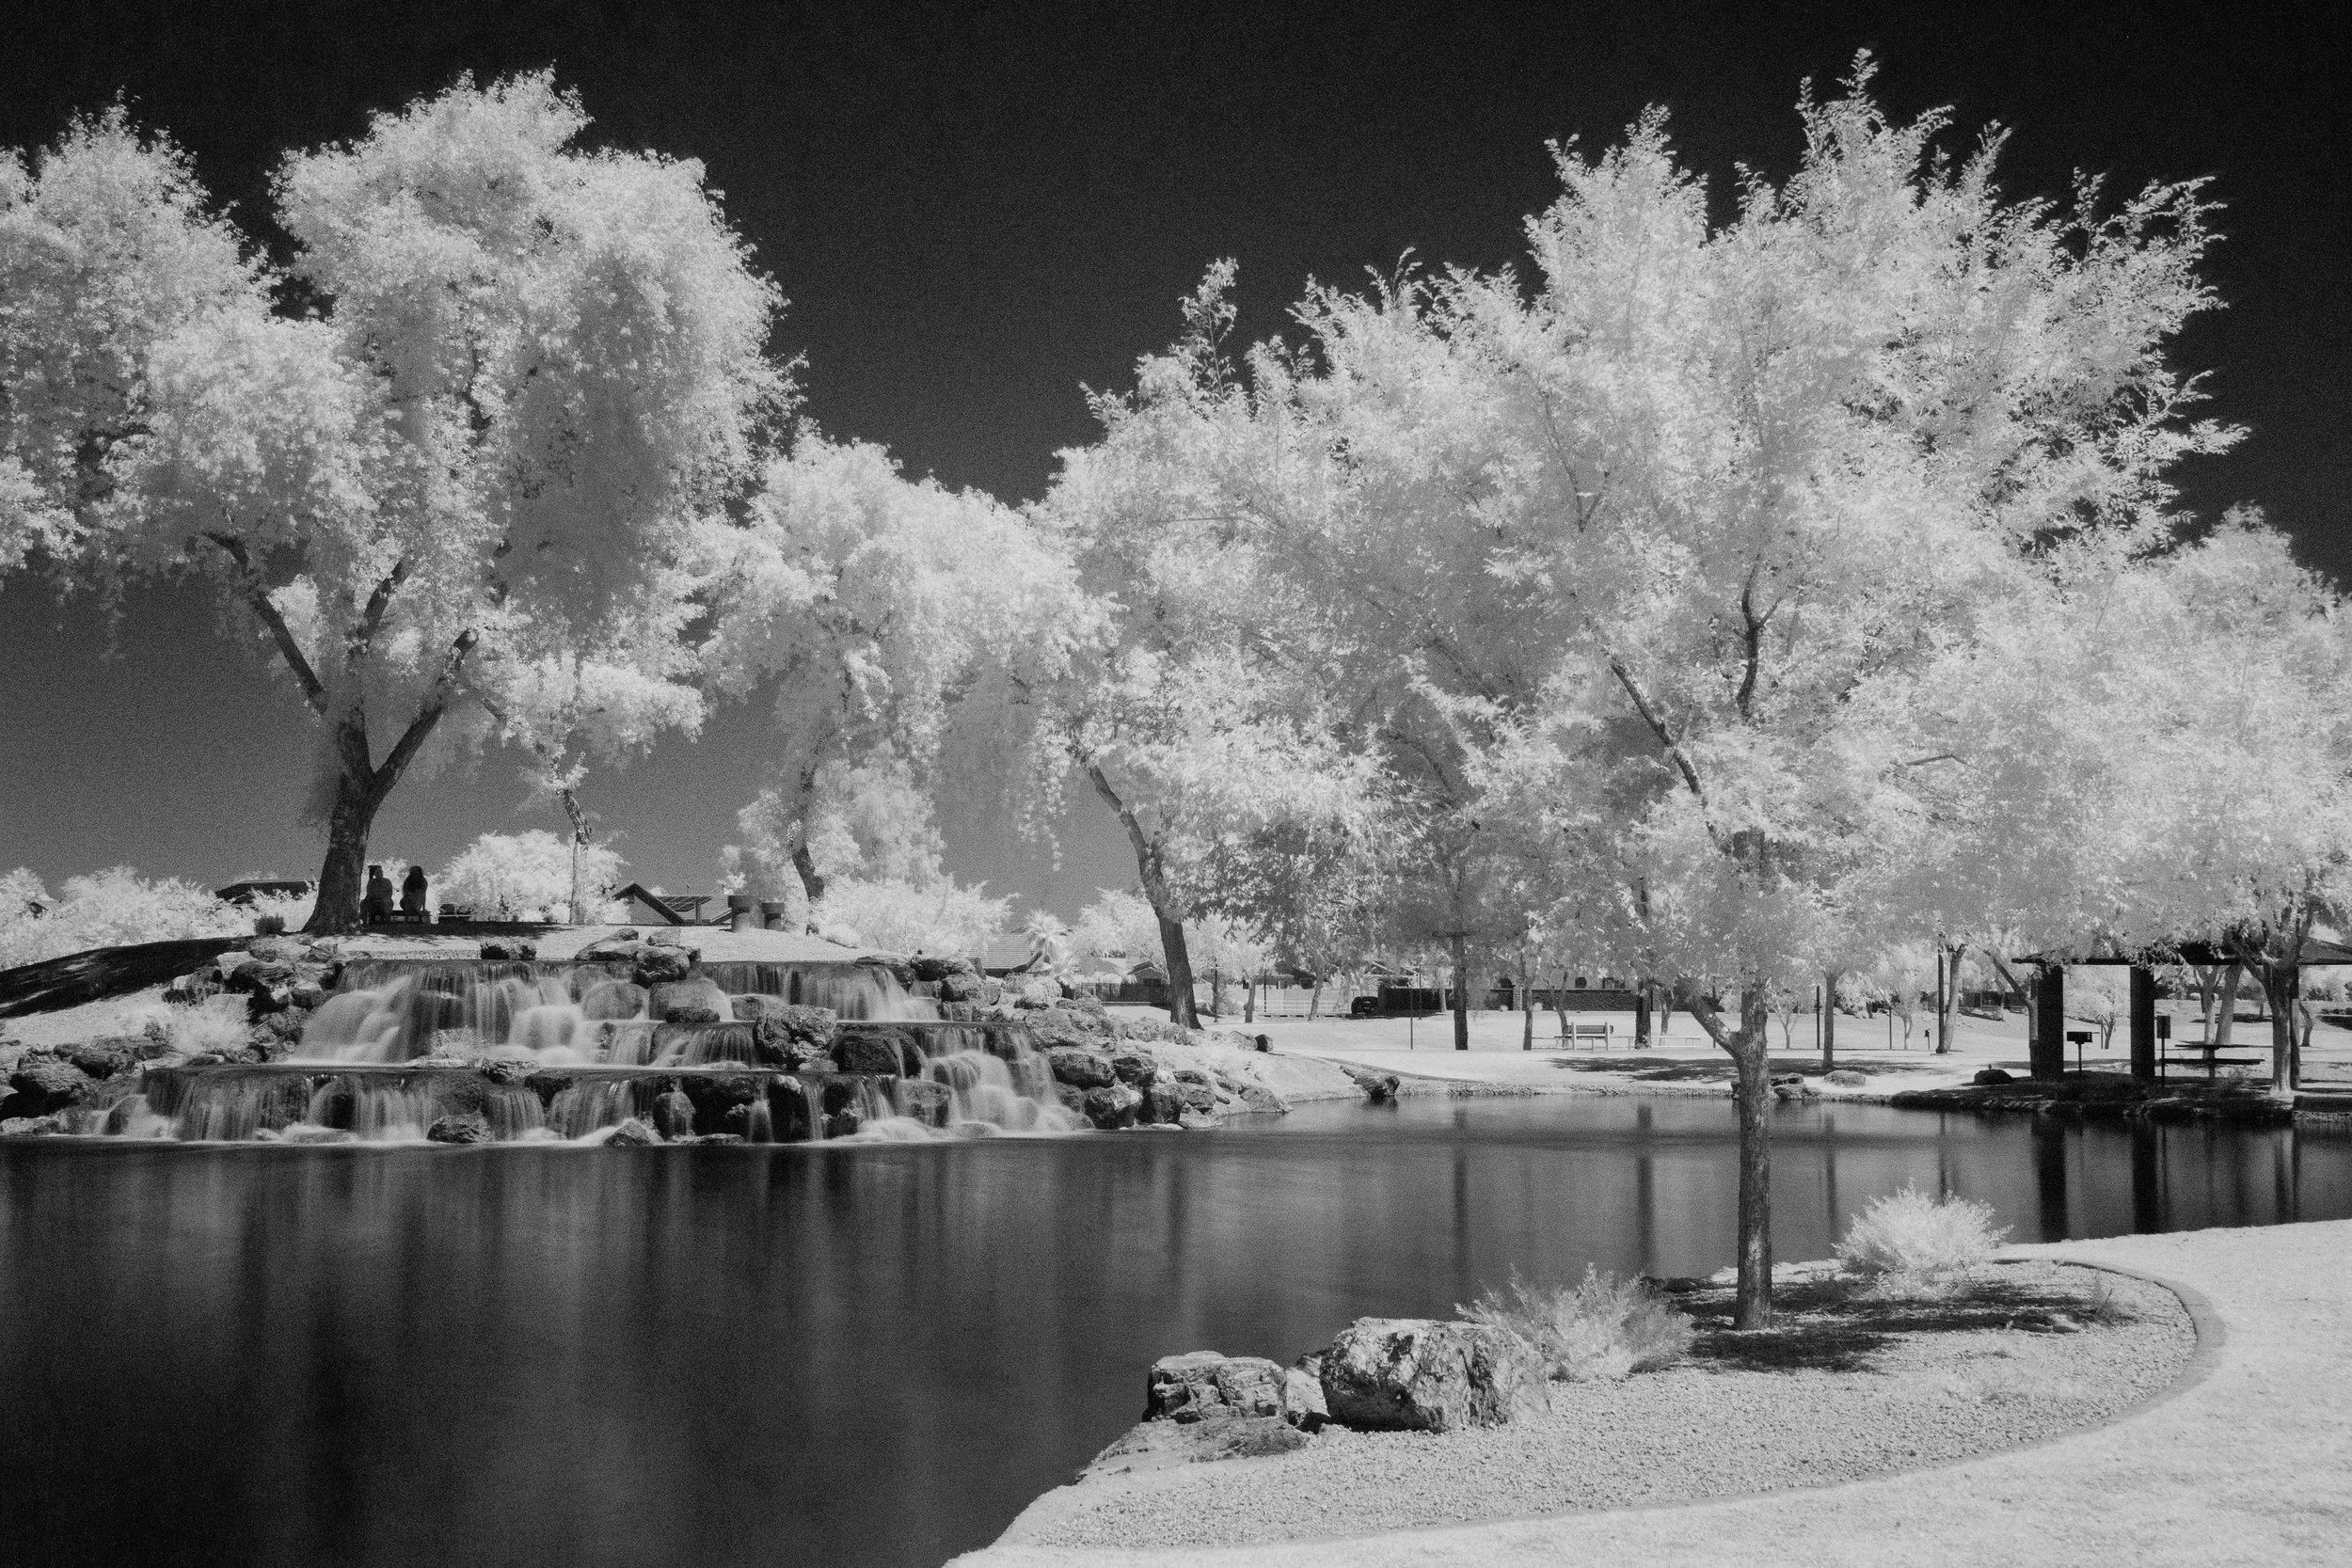
One of the most recognizable characteristics of infrared landscape photography is what is commonly called the Wood Effect.
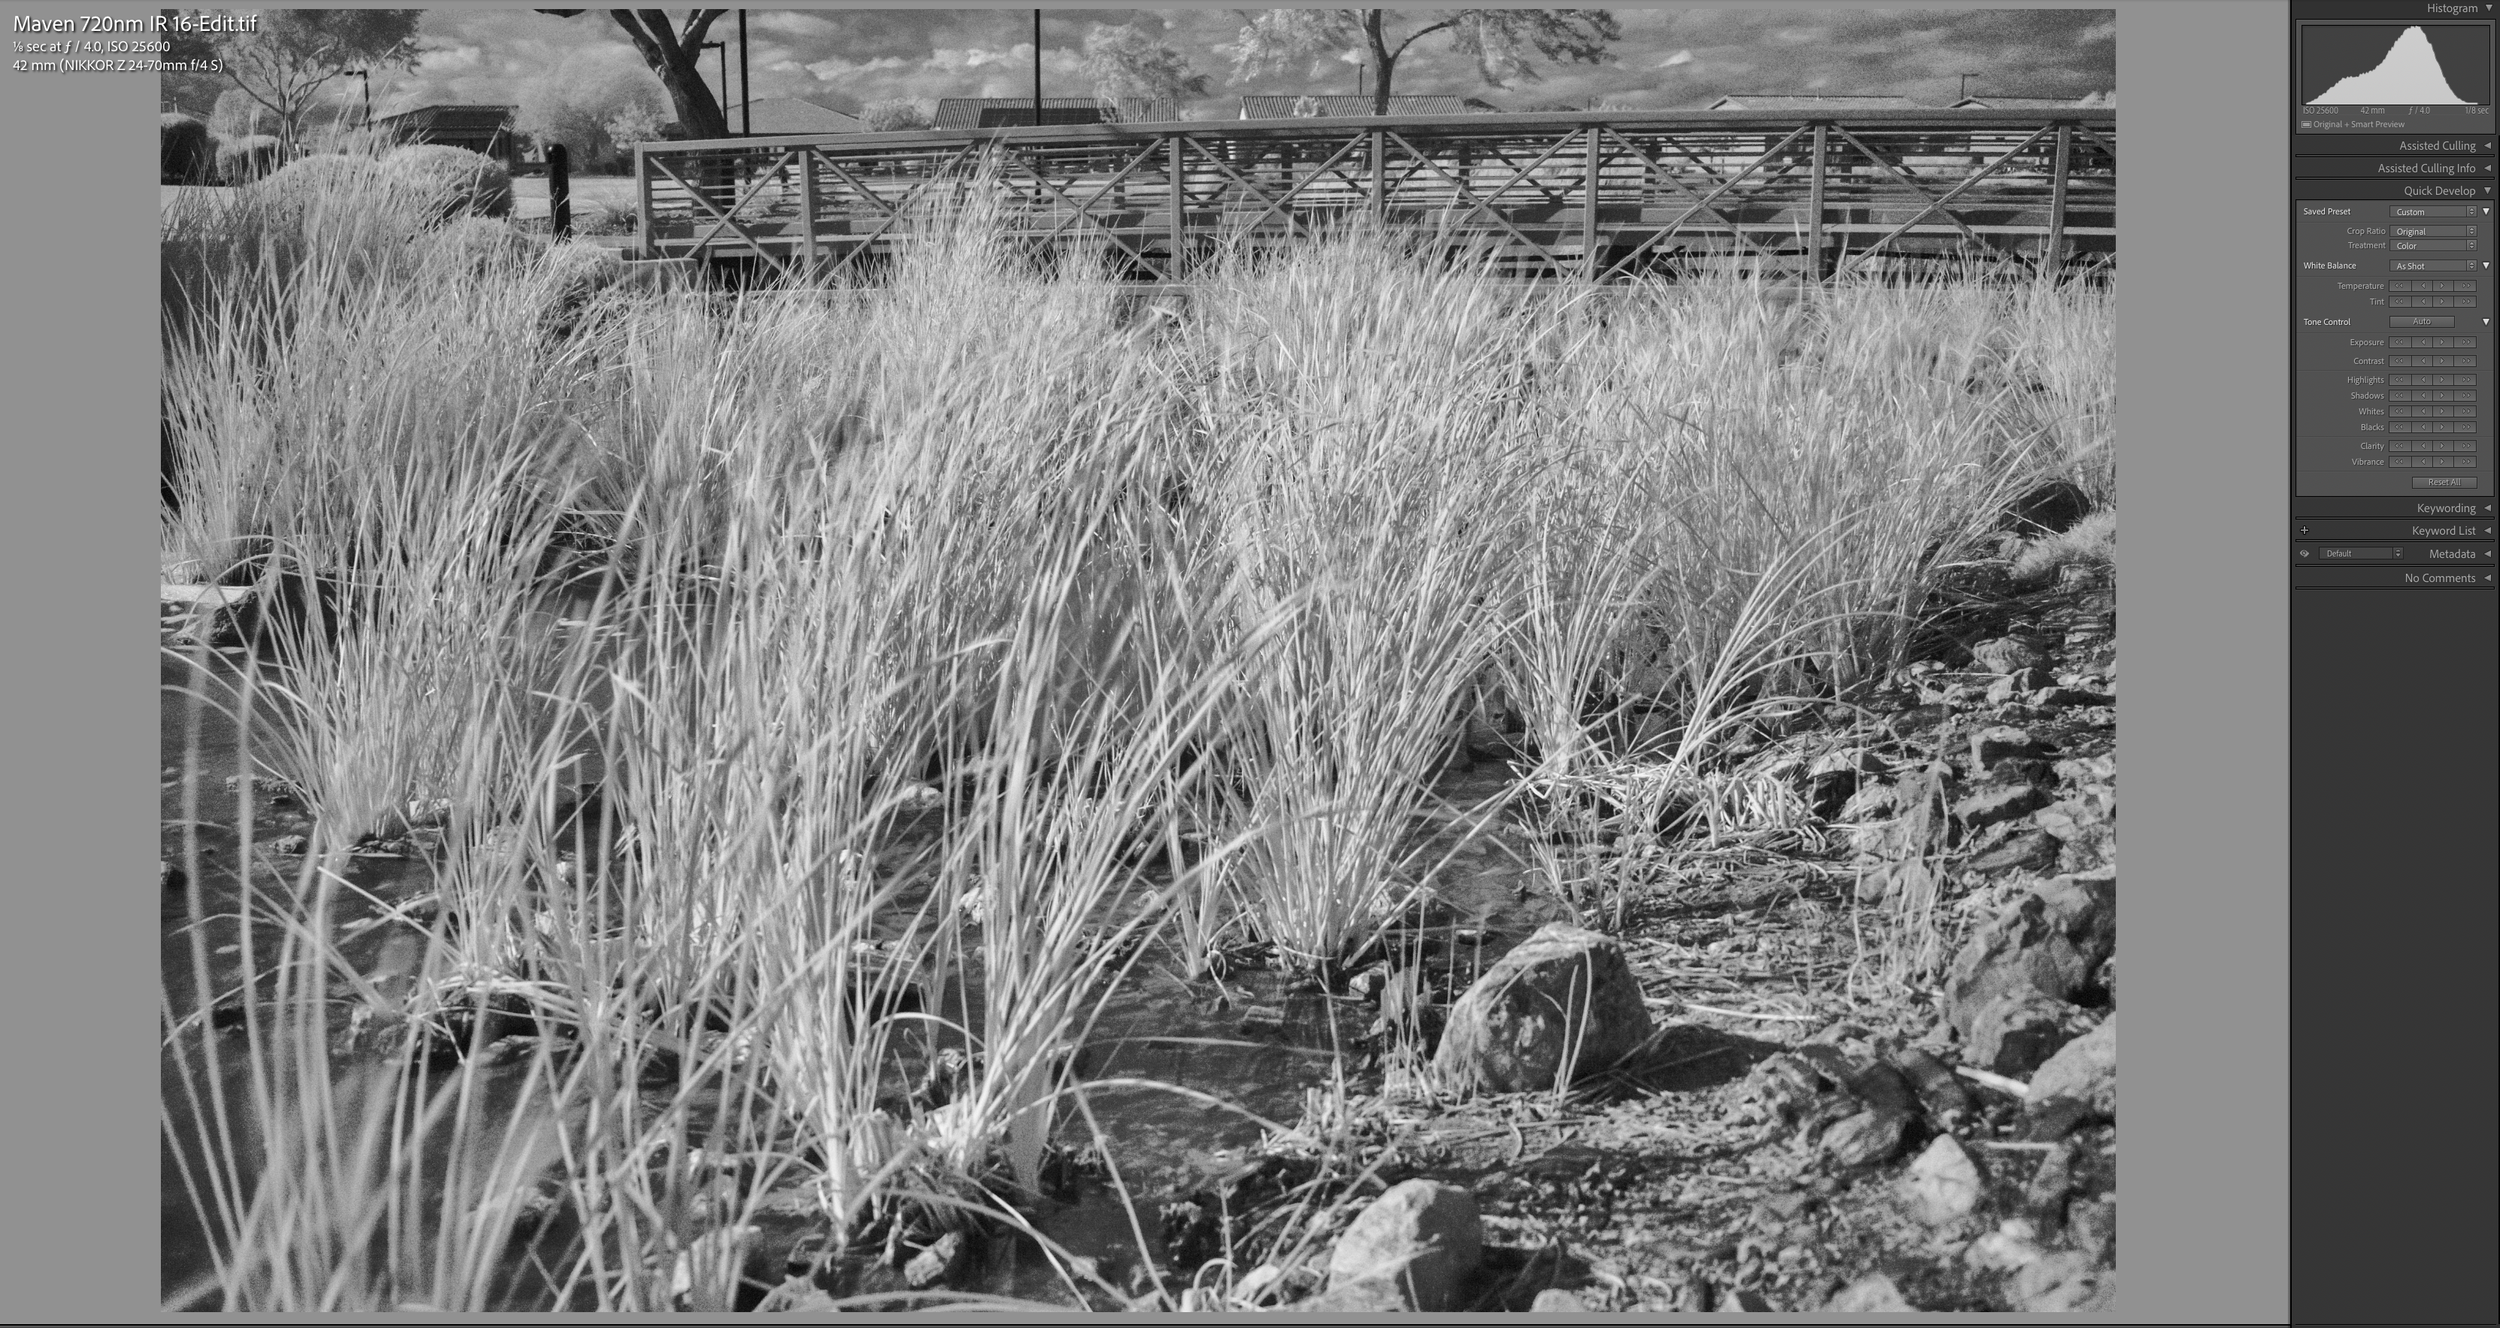
Healthy green foliage can reflect a significant amount of near-infrared light because of the internal structure of the leaves. As a result, trees, grasses, and other vegetation can appear remarkably bright in an infrared photograph.
Instead of the green foliage we're accustomed to seeing, the landscape may take on an almost snowy appearance, with trees and plants appearing white or very light gray.
This effect is commonly associated with physicist Robert Williams Wood, whose early work helped bring attention to the unusual appearance of infrared photographs.
However, not all vegetation responds in exactly the same way. Different plants, leaf structures, and conditions can produce different results. Some foliage may appear brilliantly white, while other vegetation may be darker or less pronounced.
This is part of what makes infrared photography so interesting. You can't always predict exactly how a scene will look until you photograph it.
Where and When Should You Photograph Infrared Landscapes?
One of the things I enjoy about infrared photography is that it creates opportunities to photograph landscapes under lighting conditions that might not always be ideal for conventional landscape photography.
A bright, sunny day can be an excellent time to experiment with infrared photography. While many landscape photographers concentrate on the softer light of sunrise and sunset, infrared photography can produce interesting results during the middle of the day.
Look for scenes with plenty of vegetation, trees, grasses, and interesting sky conditions. These elements can create a strong contrast between bright foliage and darker skies.
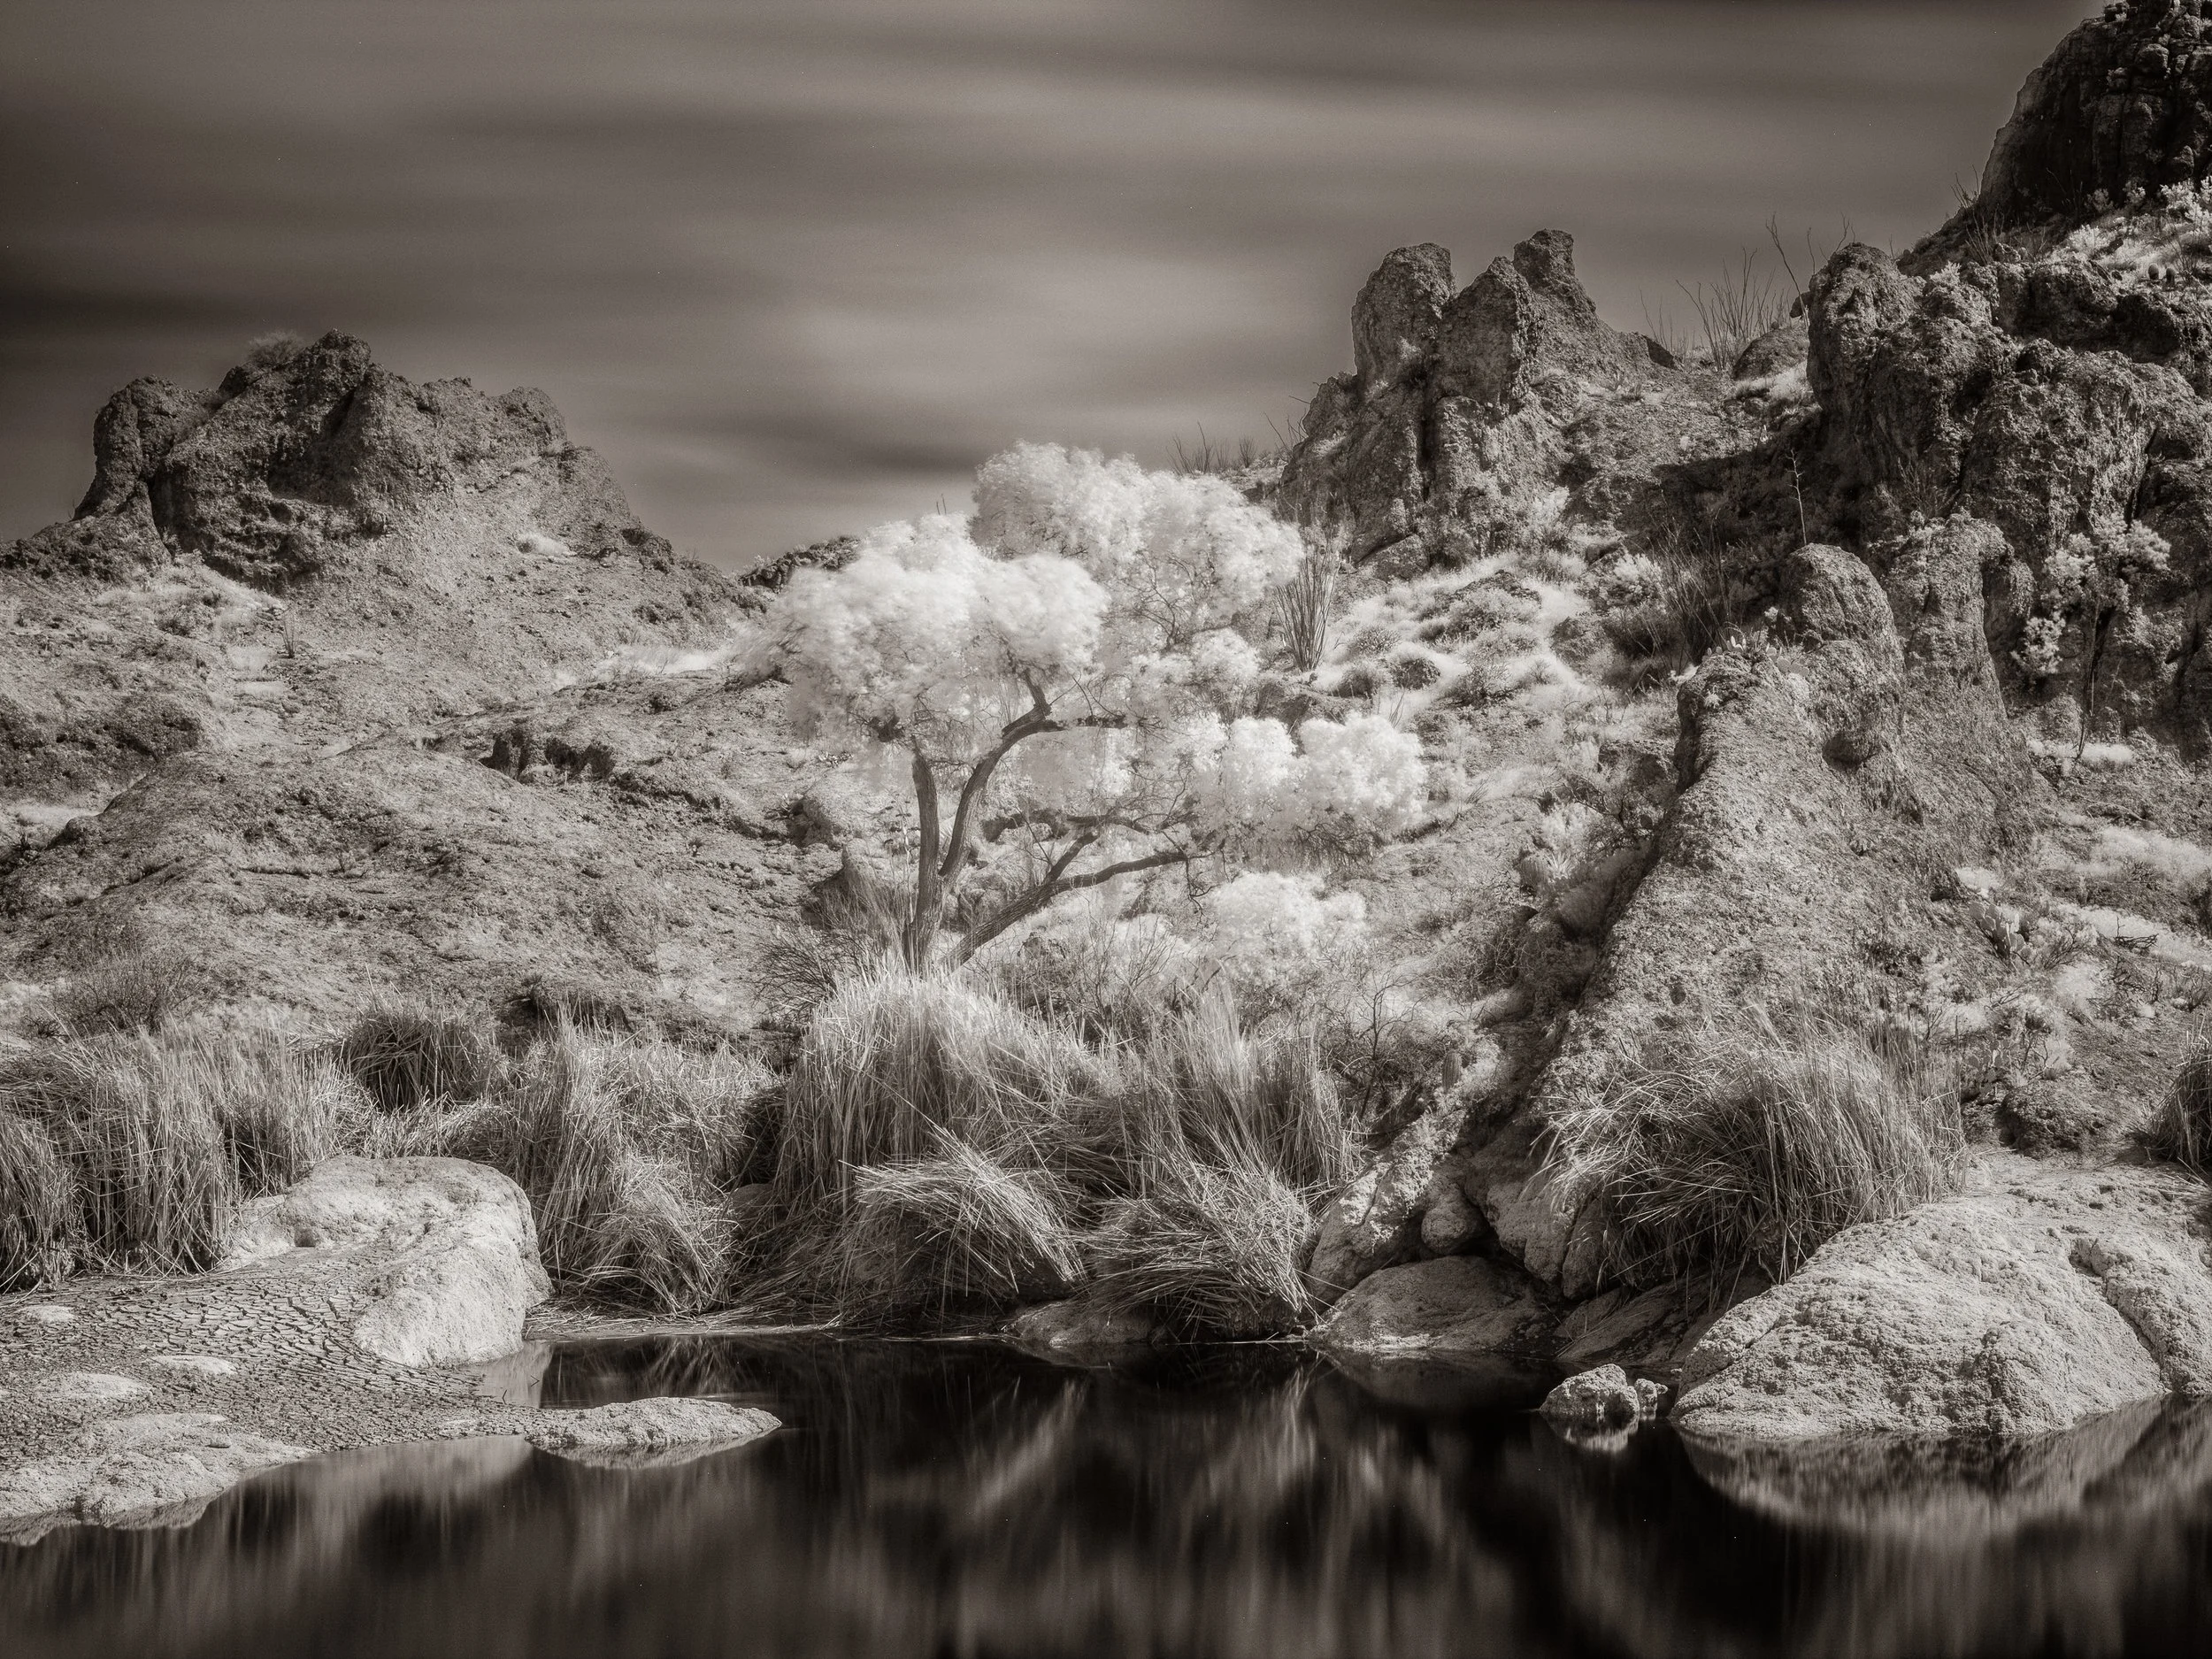
I also enjoy photographing when there are some clouds in the sky. Clouds can add texture and interest to an infrared landscape, particularly when they're moving across the sky during a longer exposure.
Depending on the shutter speed, moving clouds can become soft streaks or create a more dramatic sense of movement in the photograph.
You can experiment with different exposure times to decide how much movement you want to capture. If you prefer a faster shutter speed and want to retain more detail in the clouds, increasing your ISO may help.
The important thing is to experiment. Infrared photography can turn an ordinary-looking location into something much more interesting.
Composition and Focusing: A Different Approach
One of the challenges of working with infrared filters is focusing.
When you're photographing with a very dark infrared-pass filter, it can be difficult or impossible to see a usable image through the camera's viewfinder or on the rear LCD. This makes it important to think about your composition and focusing before attaching the filter.
My recommendation is to set up your composition first, while you can still see the scene normally.
Compose the image, identify your point of focus, and focus the camera before putting the infrared filter in place.
There is another consideration: visible light and infrared light do not necessarily focus at exactly the same distance. Depending on the lens, this can introduce a focus shift.
If your camera's live view provides enough information, you may be able to temporarily raise the ISO or increase the shutter speed or open the aperture to help you focus before returning to your intended exposure settings.
However, this isn't always possible with every camera and filter combination. Some standard cameras simply don't allow enough infrared light through to produce a useful image on the display.
This is where testing and experience become important. Experiment with your equipment, learn what works, and keep notes about the focusing behavior of your particular camera and lenses.
Getting the Exposure Right
Exposure is another area where infrared photography requires a little experimentation.
Because the infrared-pass filter blocks most visible light, exposure times can become considerably longer than those used for conventional photography.
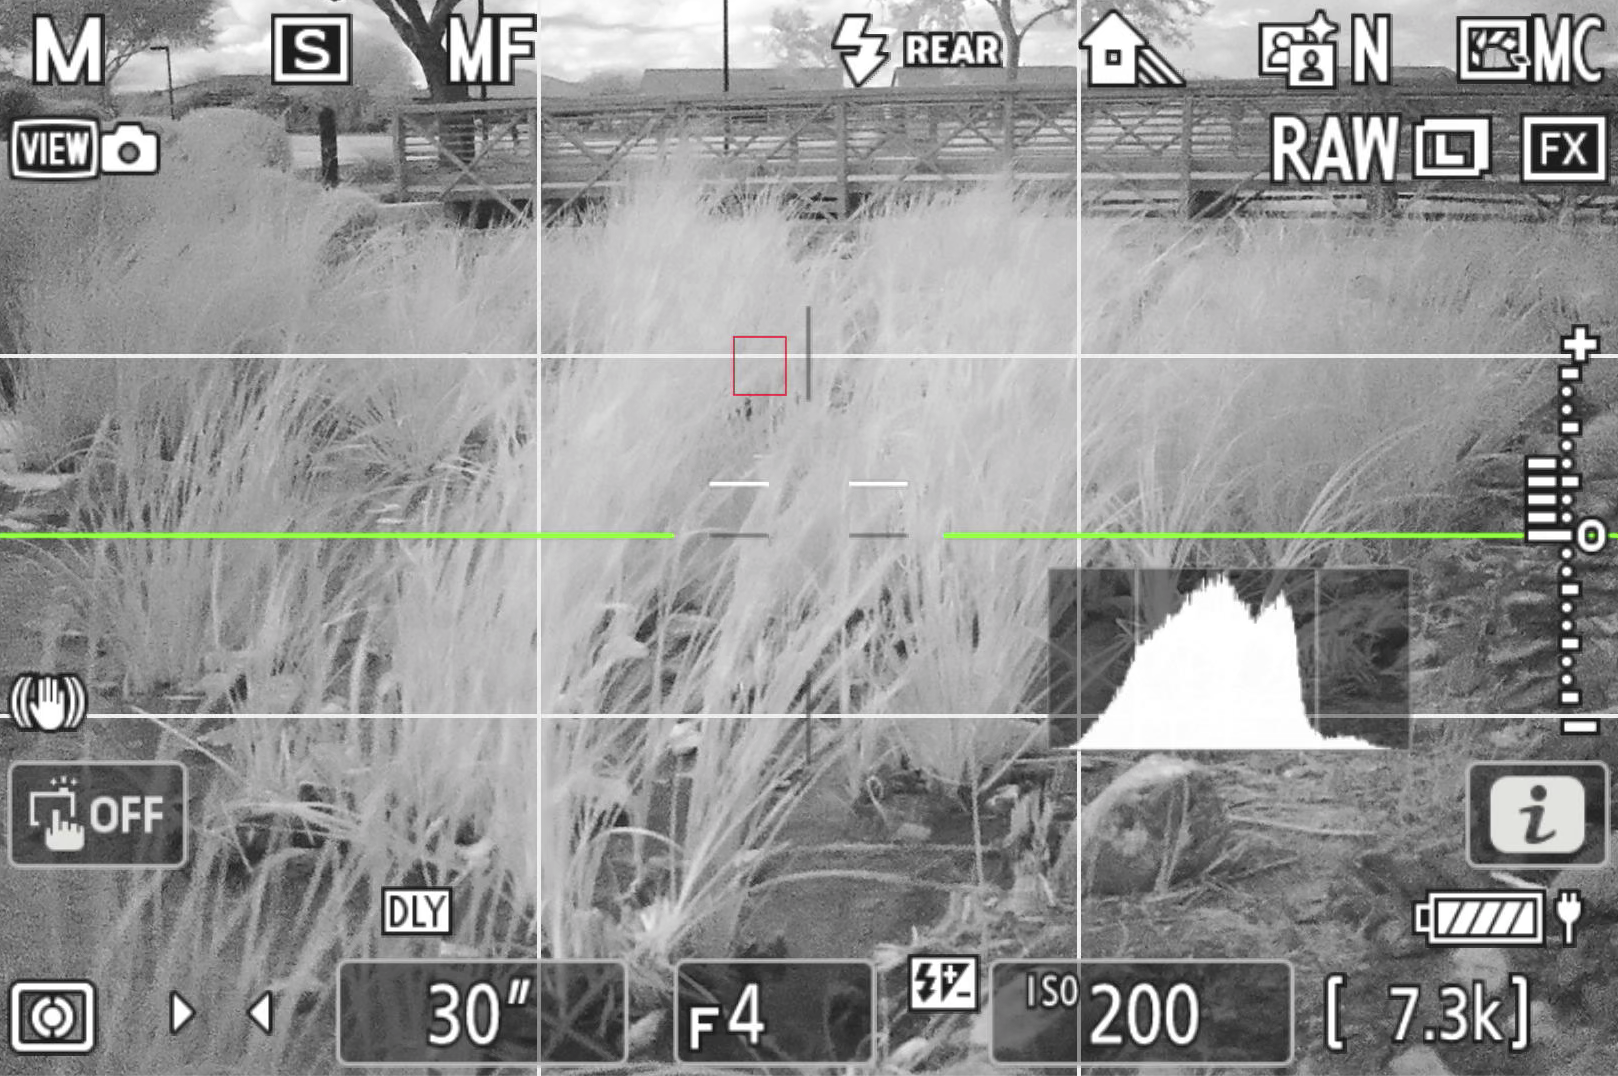
A good starting point is to work in manual exposure mode.
For an initial test with a Mave 720nm filter, consider settings such as:
ISO 100–200
Aperture around f/8 or f/11
Shutter speed of approximately 10–30 seconds
These are starting points, not fixed settings. The actual exposure will depend on your camera's infrared sensitivity, the filter you're using, the lighting conditions, and the scene.
A sturdy tripod or other secure camera support is essential when working with these longer exposures.
I also recommend making several test exposures and bracketing your results. Don't assume the first exposure is going to be the best one.
Check your histogram and pay particular attention to the highlights. Bright foliage can become very light, and it's easy to lose important highlight detail if you're not careful.
Protecting Highlights: Don't Lose the Detail
Because foliage can reflect so much infrared light, protecting your highlights becomes especially important.
I generally prefer to be cautious with exposure and use an approach I refer to as ETL, or expose to the left.
The idea is to avoid pushing the brightest areas of the image too far and clipping important highlight detail. Once those highlights are completely blown out, recovering the original detail can be difficult or impossible.
Your camera's histogram is a useful tool, but remember that the histogram is based on the camera's preview rather than a direct measurement of the final infrared data.
I recommend leaving yourself a little room rather than pushing exposure right to the edge. Make a test exposure, inspect the histogram, and adjust as necessary.
This is another reason I like to bracket exposures when experimenting with infrared photography. It gives you several options to evaluate when you review the images later.
Infrared Lens Hotspots: A Problem to Watch For
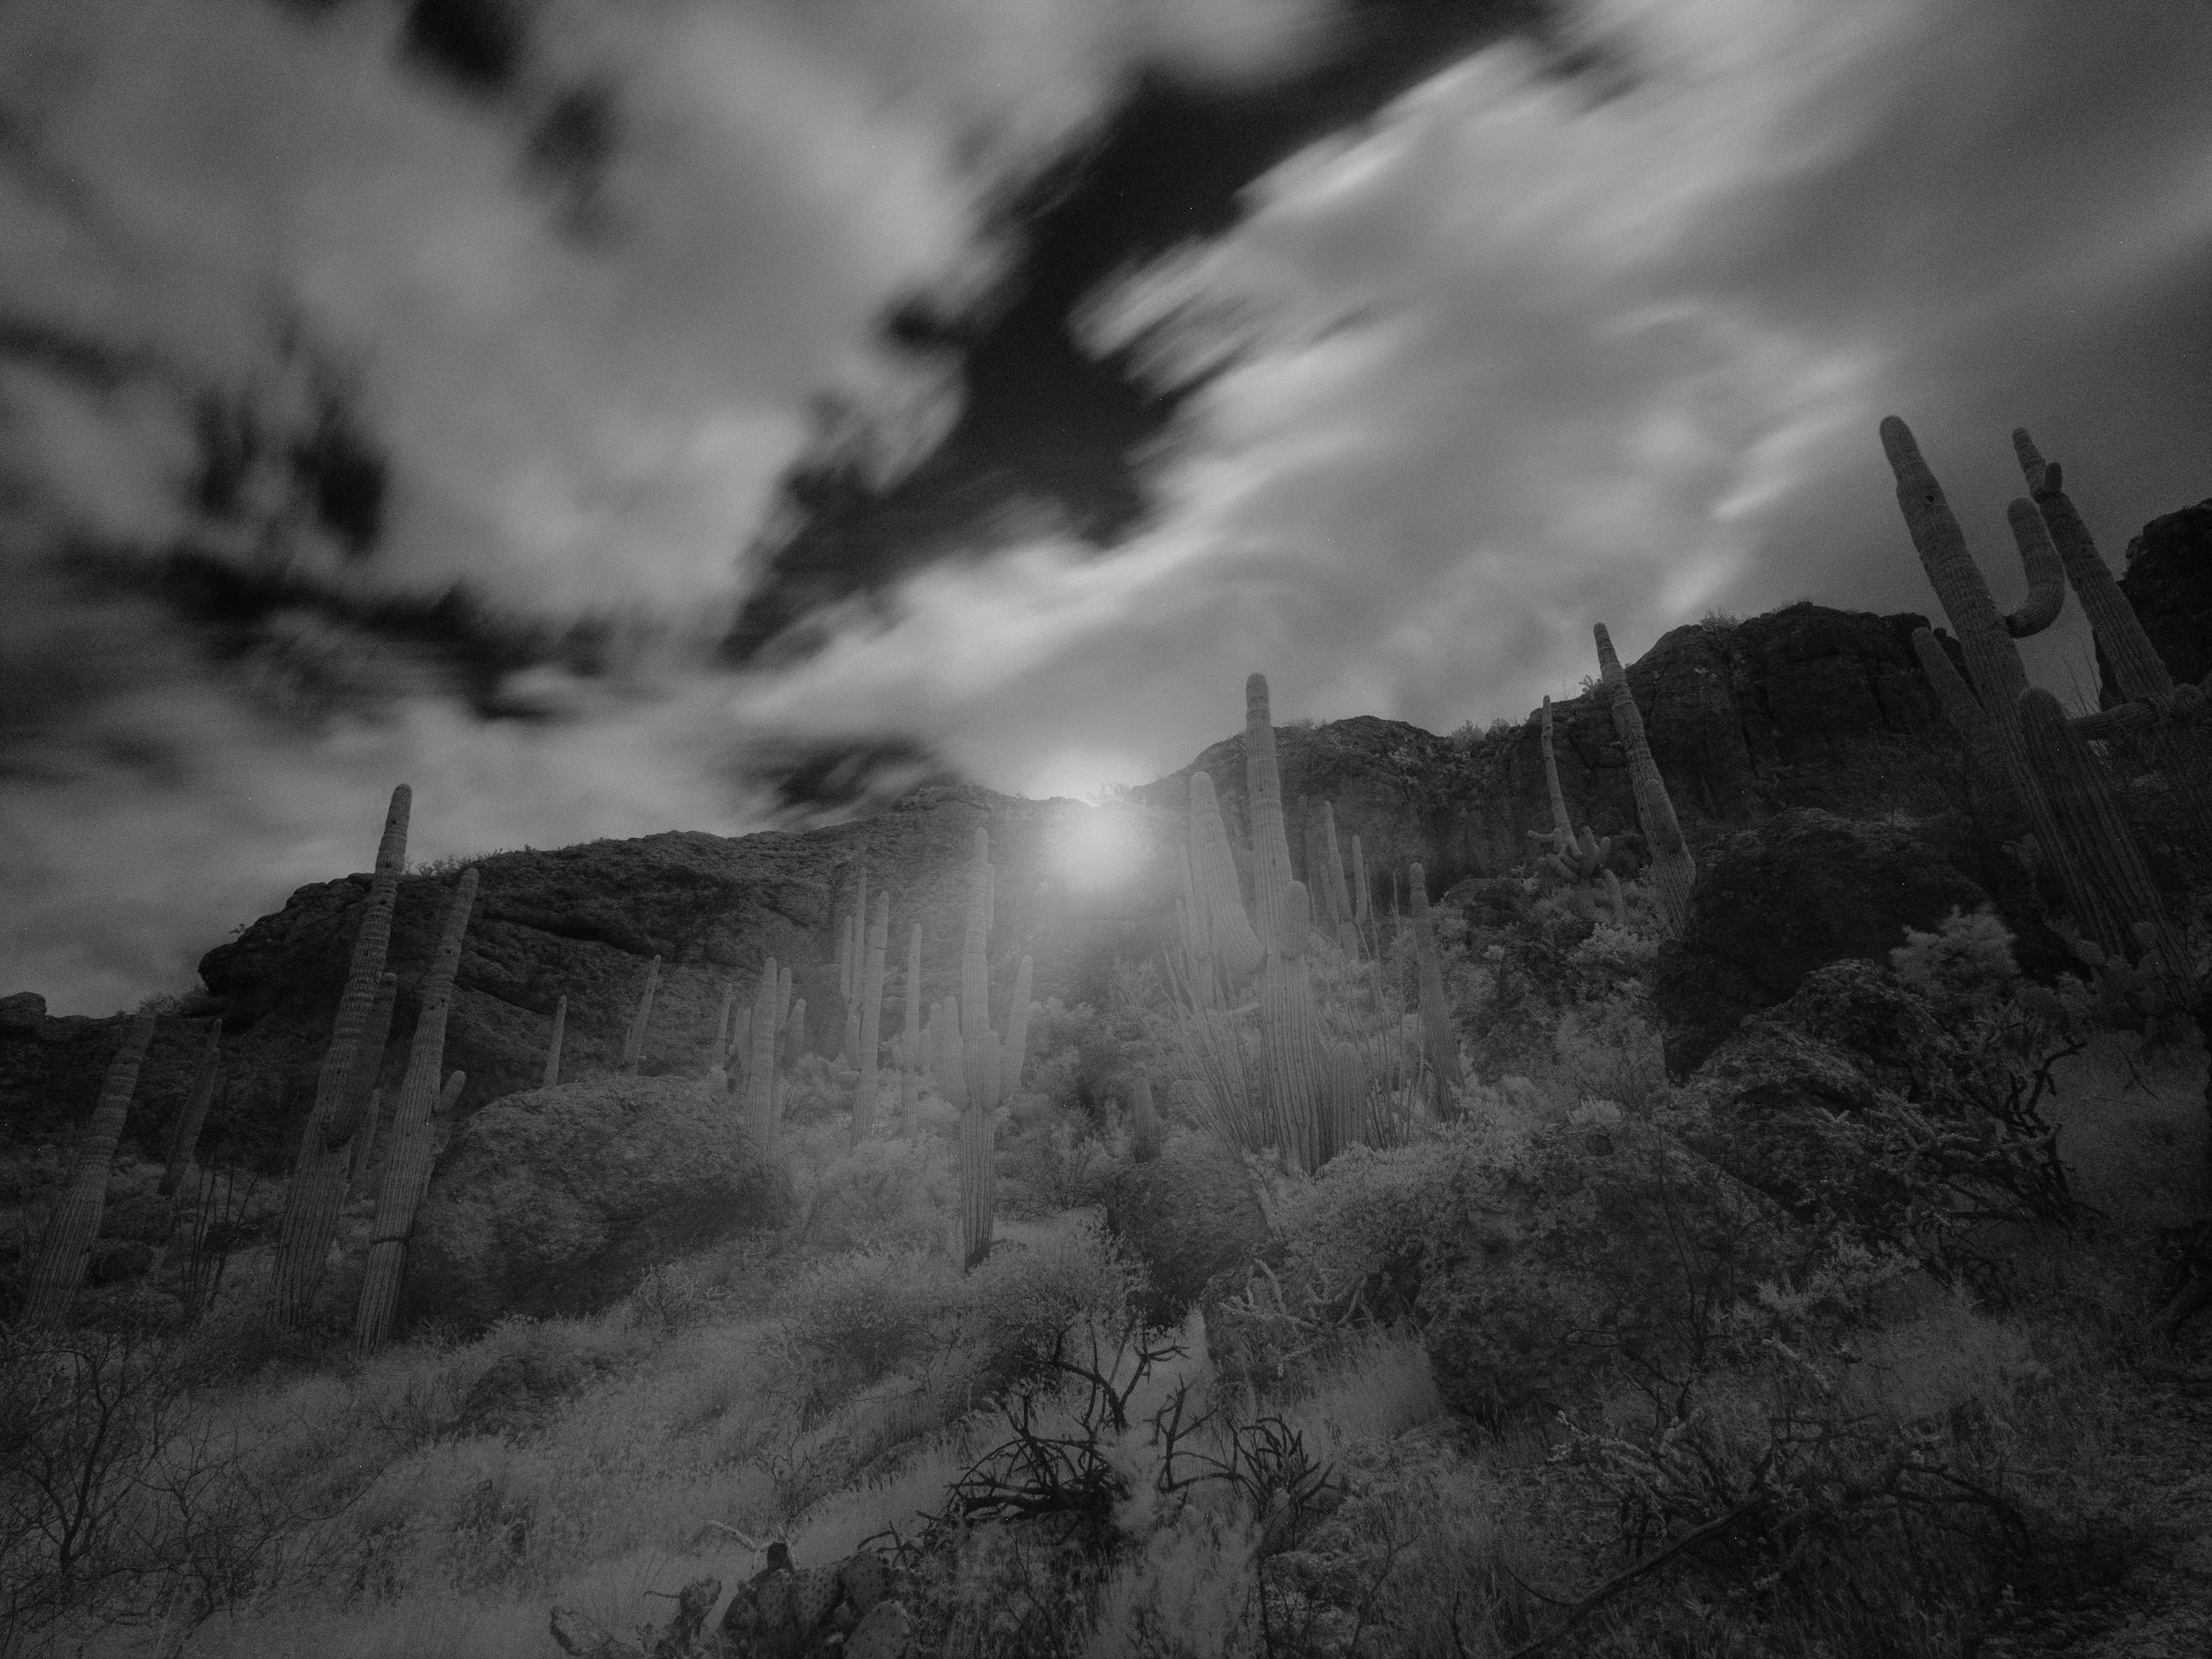
One issue that can surprise photographers when they first start working with infrared photography is something called an infrared lens hotspot.
A hotspot usually appears as a bright circular or hazy area near the center of the photograph. It can look like a lighter patch in the middle of an otherwise evenly exposed image.
This isn't necessarily a problem with your filter or camera. Certain lens designs and internal materials or coatings can behave differently when working with infrared light. Some lenses are simply more prone to producing hotspots than others.
I've encountered this myself when experimenting with infrared photography, and it's something worth checking before heading out for an important shoot.
Hotspots can become more noticeable at smaller apertures, such as f/16 or f/22, although the behavior varies from lens to lens.
One practical way to test your equipment is to photograph an evenly lit green lawn or another fairly uniform scene. Try several different apertures and inspect the resulting images carefully for a brighter area near the center.
You may find that a lens performs well at f/8 but produces a noticeable hotspot at f/16.
If you discover a problem, experimenting with a wider aperture may help reduce it. Of course, you also need to consider the depth of field required for your composition.
Before purchasing a lens specifically for infrared photography, it's worth checking infrared lens compatibility resources, such as the lens database provided by Life Pixel. These resources can help you identify lenses that other photographers have tested for infrared performance.
The lesson here is simple: test your lenses before relying on them in the field. It can save you a great deal of frustration later.
Why a Tripod Is So Important
With many infrared filters, longer shutter speeds are simply part of the process.
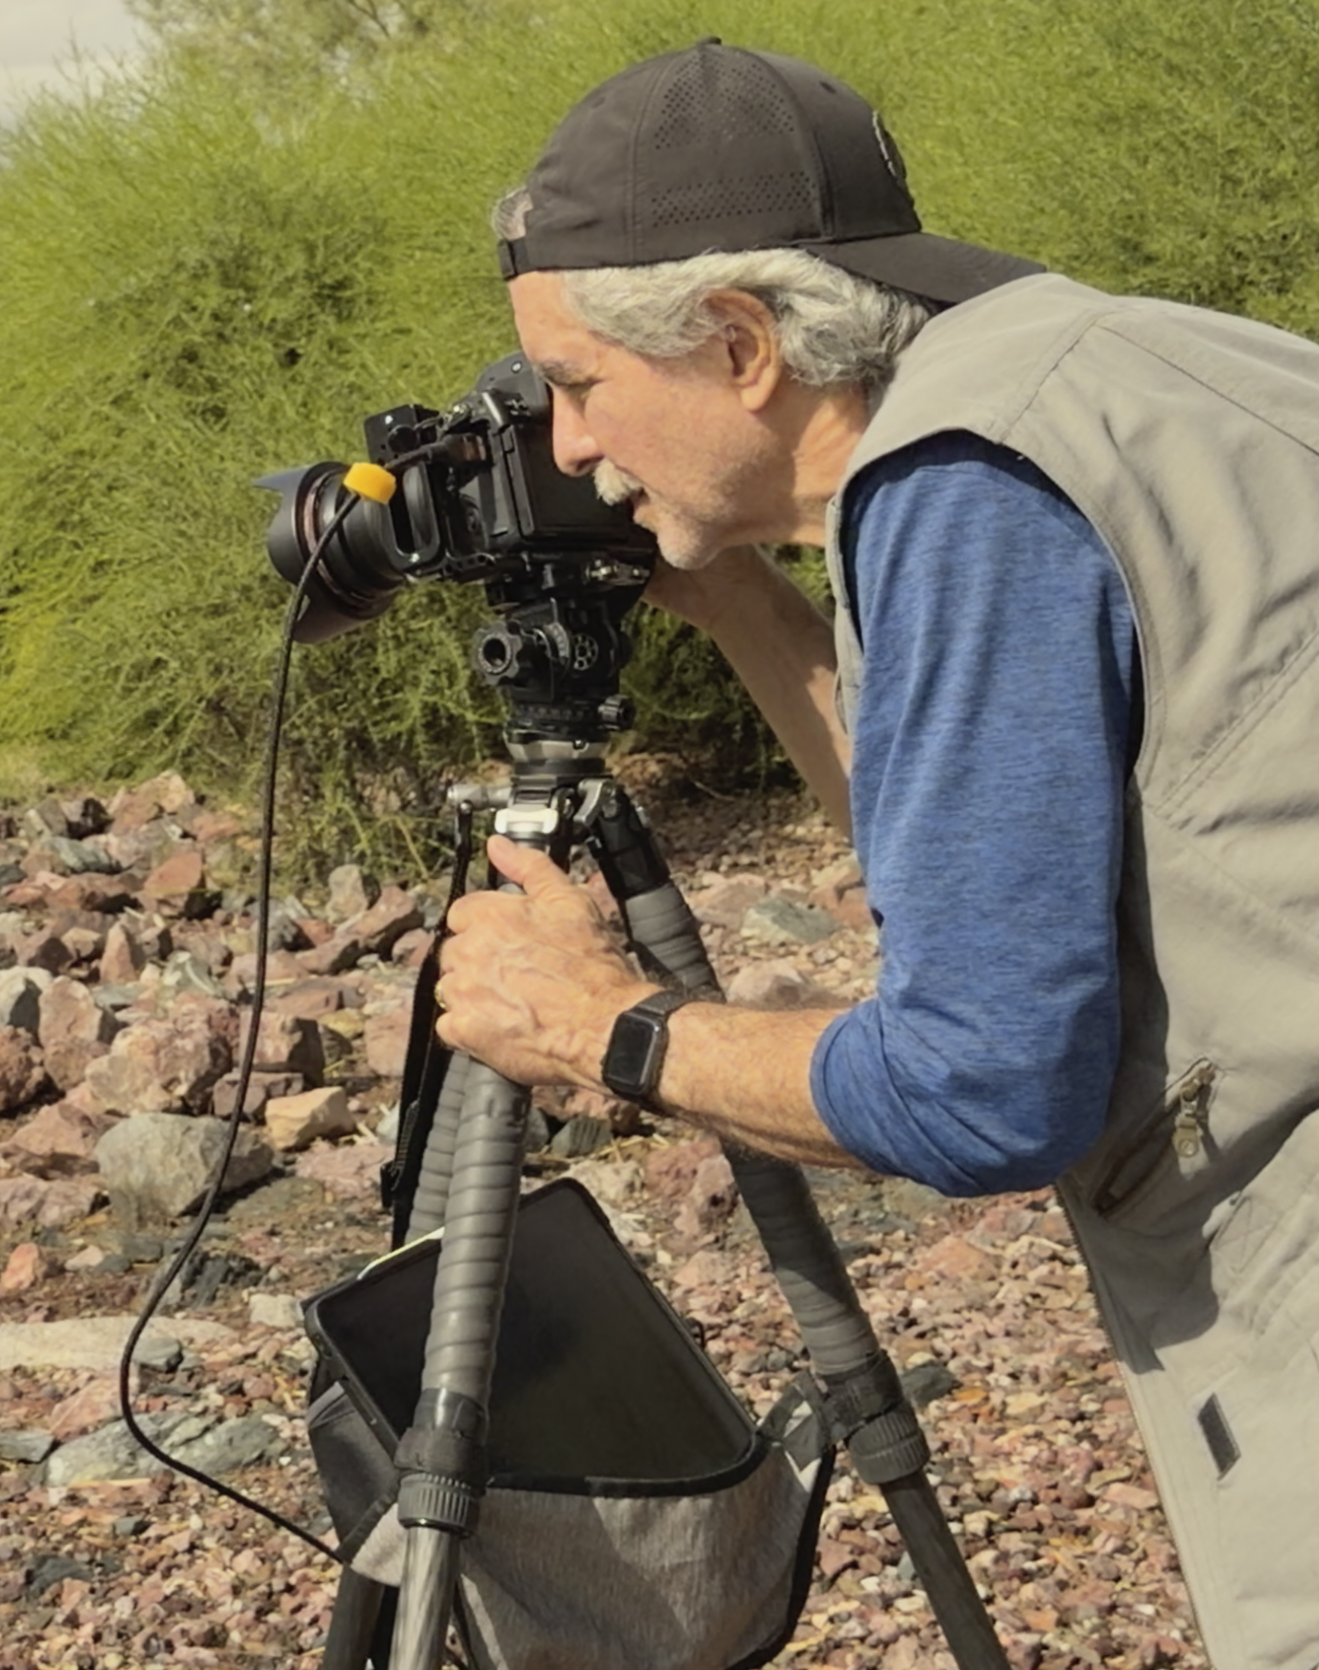
A solid tripod helps keep your camera stable throughout the exposure and allows you to concentrate on composition and exposure rather than worrying about camera movement.
It also gives you the freedom to experiment with longer exposures when clouds are moving across the sky.
Make sure your tripod is securely positioned, especially if you're photographing in windy conditions. Even a small amount of movement can affect image sharpness during a long exposure.
Making the Workflow Easier with Magnetic Infrared Filters
I've experimented with different infrared filters over the years, and one thing I've come to appreciate is having a filter system that's easy to work with in the field.
One of the challenges with infrared photography is that you may need to compose and focus before putting the dark filter in place. You may also want to remove the filter temporarily to make adjustments or check your composition.
This is one reason I've enjoyed using the magnetic infrared filters from Maven Filters.
Click here for Maven IR Filters
The magnetic system makes it easier to attach and remove the filter when moving between focusing, composing, and making exposures. When you're working through a series of test exposures, that convenience can make the process much smoother.
The filter itself is only one part of the equation, of course. Understanding your camera, lenses, focusing, and exposure is just as important.
Experiment and Learn to See Differently
Infrared photography is a wonderful way to expand your creative vision as a landscape photographer.
It encourages you to look at familiar locations differently and to pay attention to elements that might not stand out in a conventional photograph.
A bright sunny day that might otherwise seem less interesting can become an opportunity to create something unusual. Trees, grasses, clouds, and skies all take on a different character when photographed using infrared light.
There is a learning curve, particularly when it comes to focusing, exposure, and understanding how your lenses behave. But once you begin to understand those challenges, infrared photography can become a very rewarding addition to your photographic toolbox.
My advice is to start experimenting. Find a location with plenty of vegetation, try a few different exposures, test your lenses, and see how the landscape changes when you move beyond visible light.
You may be surprised by what your camera can reveal.
Watch the Complete Infrared Photography 101 Tutorial
I've also put together a complete 37-minute video tutorial on my YouTube channel, Herzography, where I walk through the process in more detail and share practical tips for getting started with black-and-white infrared photography.
Click here for the full YouTube Video
If you're interested in exploring infrared photography, I encourage you to watch the full video.
And as always, keep looking at the world through your own photographic eye. Sometimes the most interesting photograph is the one that shows us something we didn't realize was there.
Get out there and shoot!