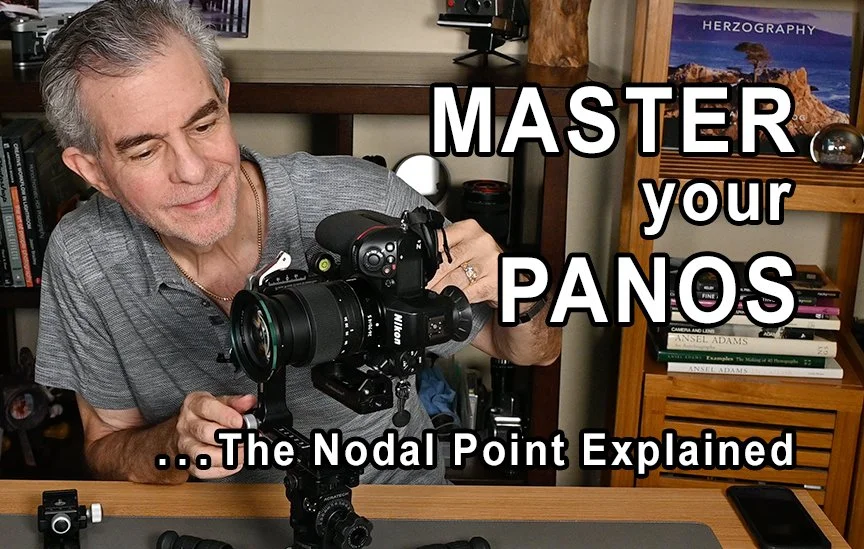
How to Set the Nodal Point for Perfect Panoramas Every Time
One of the most rewarding techniques in landscape photography is creating high-resolution panoramic images. Whether you’re photographing sweeping mountain vistas, dramatic coastlines, or architectural interiors, panoramas allow you to capture scenes that simply won’t fit within a single frame. Yet many photographers become frustrated when their stitched images show misaligned foreground objects, ghosting, or warped edges. More often than not, the problem isn’t the software—it’s the camera setup.
The secret to creating flawless panoramas is understanding and setting the nodal point, more accurately known as the entrance pupil. When your camera rotates around this point instead of the tripod socket on the bottom of the camera, objects in the foreground and background maintain their relative position throughout the sequence. This eliminates parallax errors and allows panorama software to stitch your images together seamlessly.
My panoramic setup begins with a stable foundation. I use a Really Right Stuff tripod paired with a leveling base because consistency starts with stability. A leveling base is one of the most important pieces of a panoramic system. By leveling the base instead of relying solely on the tripod head, every rotation remains perfectly horizontal, making the stitching process significantly easier and producing straighter horizons.
Mounted on top of the leveling base is an Acratech panoramic head combined with a nodal rail. The nodal rail allows the camera to slide forward and backward until the entrance pupil is positioned directly over the axis of rotation. This adjustment may seem small, but it makes an enormous difference in the quality of your finished panoramas.
Finding the correct nodal point is surprisingly straightforward. Position two objects so they line up from the camera’s perspective—one relatively close and another much farther away. A light stand, hiking pole, or even a stick placed in the ground works well for the foreground object, while a tree, fence post, or sign can serve as the background reference. Looking through the viewfinder or LCD, align both objects in the center of the frame and slowly rotate the camera from side to side.
If the two objects appear to separate as you pan, parallax is occurring, indicating that the camera is not rotating around the entrance pupil. Simply slide the camera slightly forward or backward on the nodal rail and repeat the test. Continue making small adjustments until both objects remain perfectly aligned throughout the rotation. Once they no longer shift, you’ve found the correct nodal point for that particular lens and focal length.
After determining the proper position, it’s worth recording the measurement for future use. A small piece of tape on the rail or a simple note in your phone can save valuable time when you’re standing in front of an incredible sunrise waiting for the perfect light. Since every lens—and often every focal length on a zoom lens—has its own entrance pupil location, maintaining a reference chart makes field setup much faster.
With the camera properly configured, capturing the panorama becomes a straightforward process. Begin at one side of the scene and rotate the camera in consistent increments, allowing approximately 30 percent overlap between each frame. Manual exposure is essential to ensure brightness remains consistent across the entire sequence, and locking your white balance prevents unwanted color shifts from one image to the next. These simple steps produce a much cleaner stitch and reduce editing time later.
Once you’ve captured the entire scene, panorama software such as Adobe Lightroom or Photoshop can merge the images into a single, high-resolution photograph. Because the camera rotated around the entrance pupil rather than the tripod mount, the software has a much easier job aligning each frame, resulting in cleaner edges, fewer artifacts, and remarkably natural-looking panoramas.
Mastering the nodal point is one of those techniques that quickly becomes second nature. After you’ve measured each of your favorite lenses, setup takes only a few minutes, and the improvement in image quality is dramatic. Whether you’re photographing vast landscapes, intricate cityscapes, or interior architecture, this simple adjustment can transform your panoramic photography and produce professional-quality results every time.